Quickstart Guide
Create Your Account
First, let's create your VeilNet account.

- Go to console.veilnet.app and create your account via Google, Microsoft, Github, or discord.
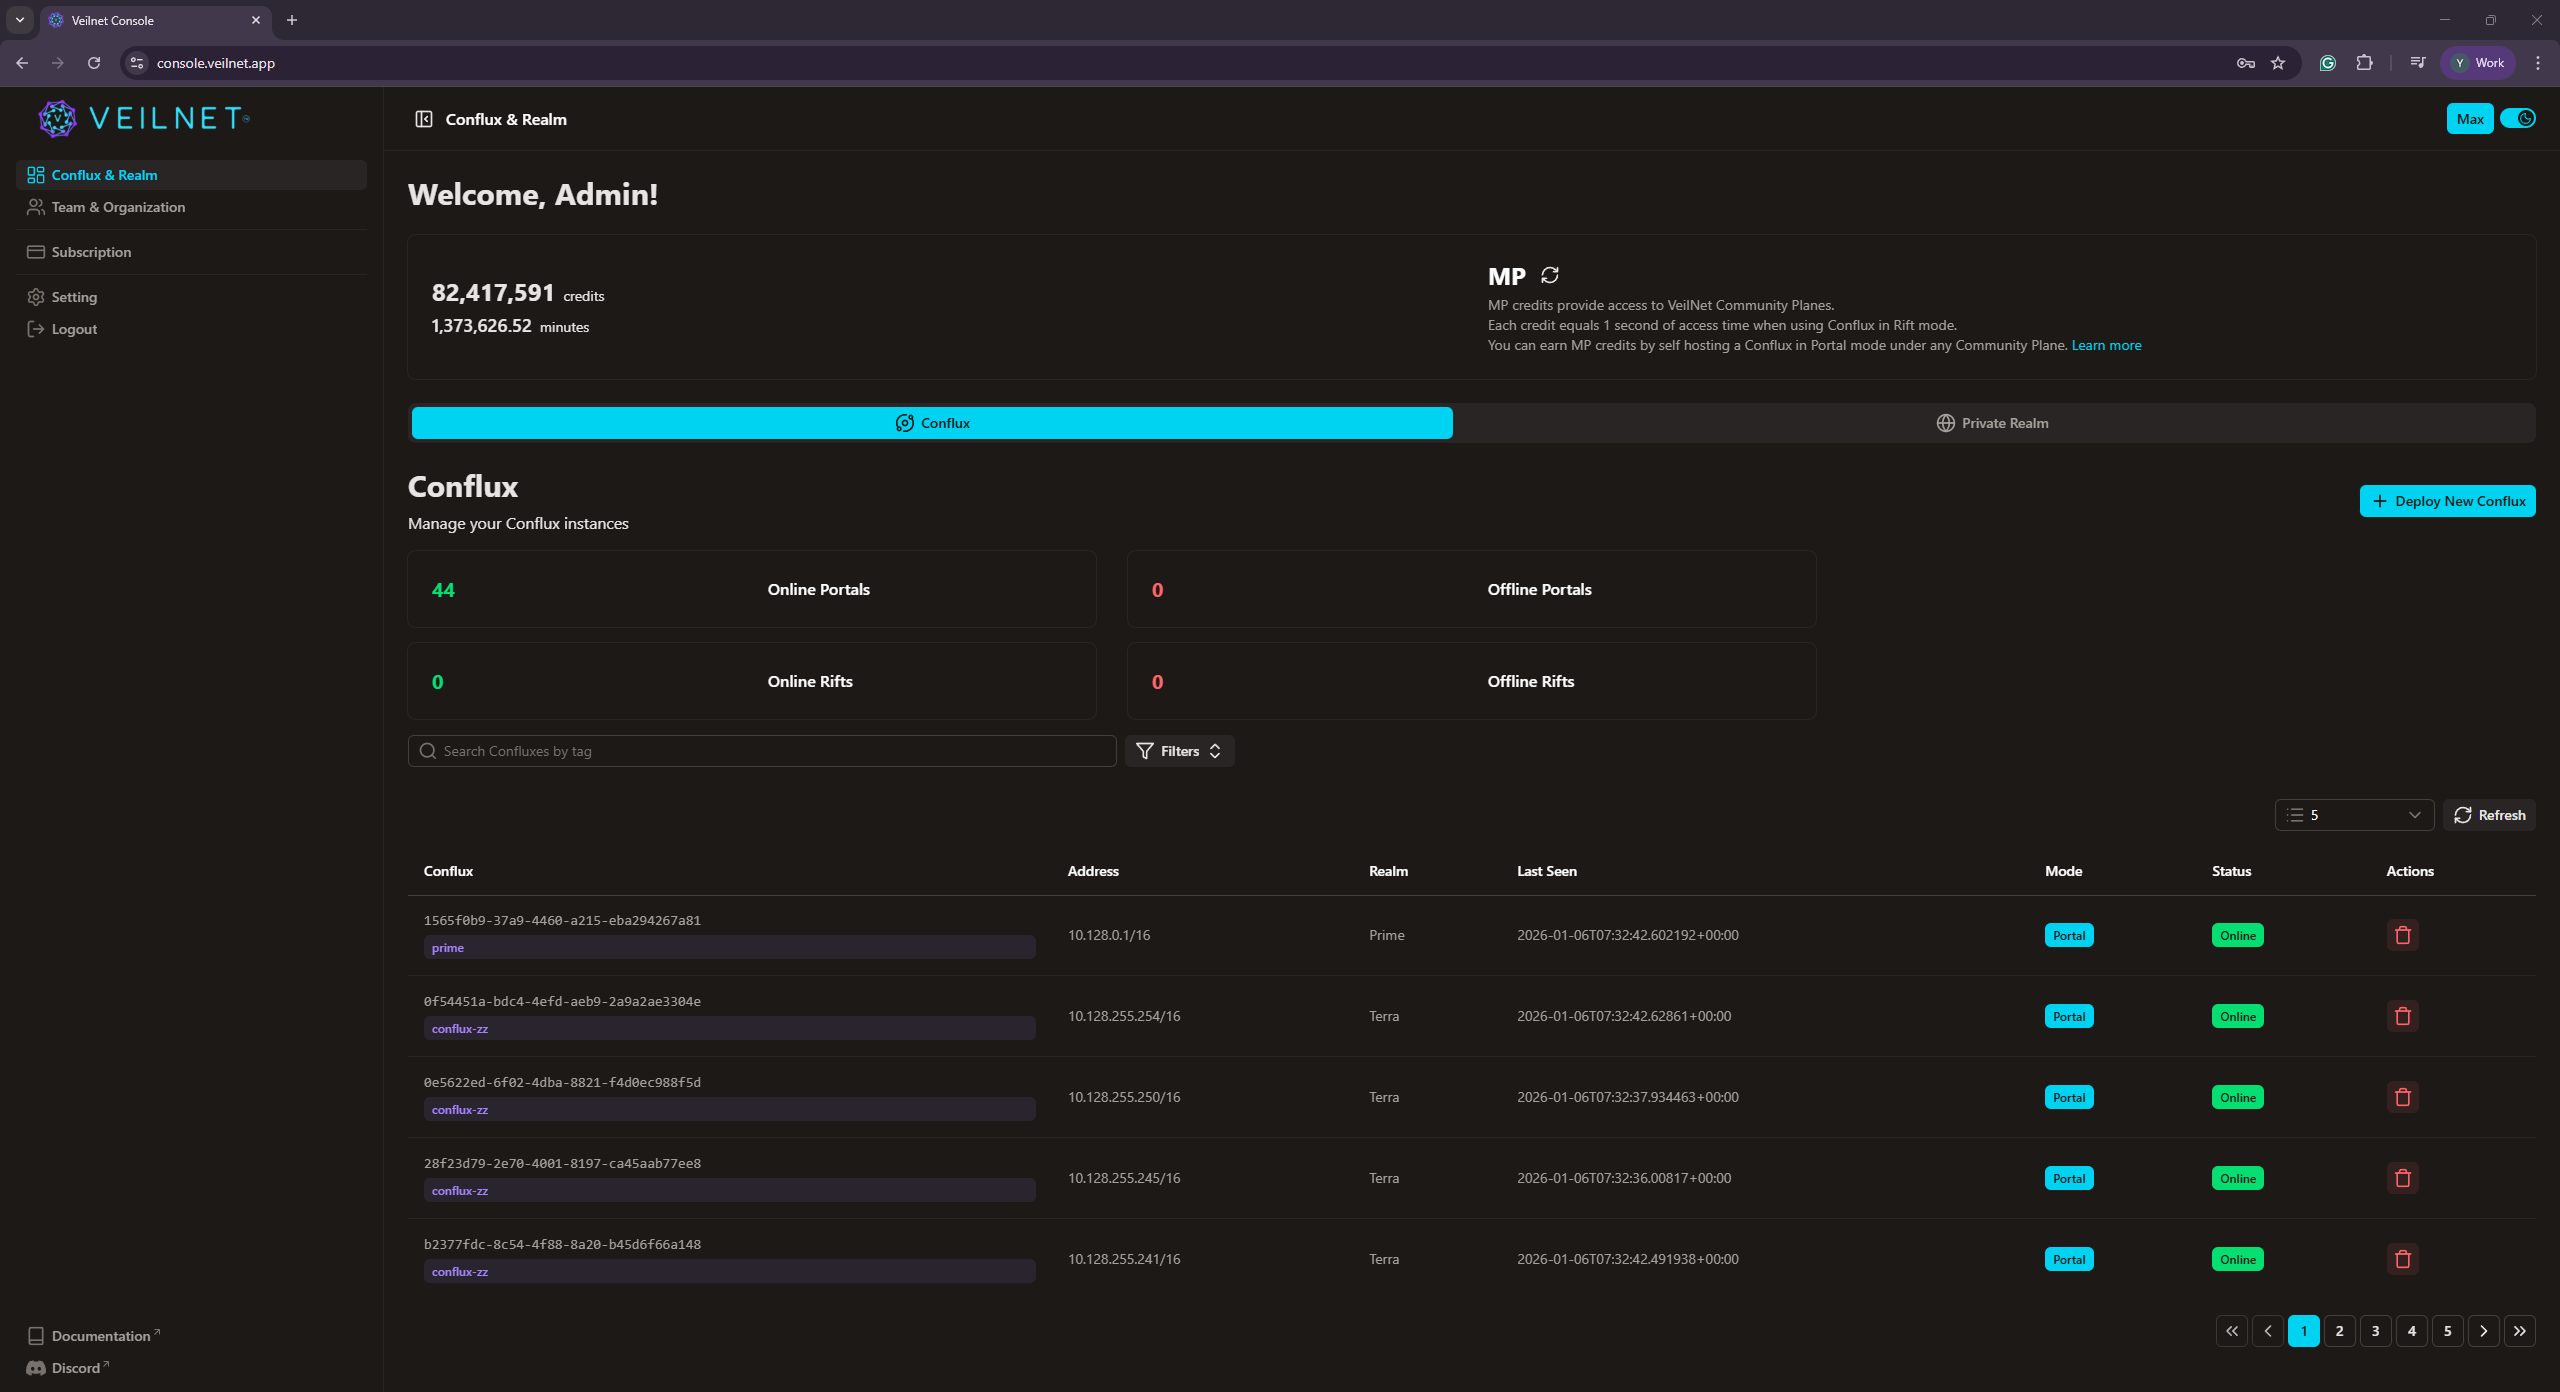
- You will be greeted with the main page. Here you will see all your existing Conflux instances. To deploy a new instance, you will need a
Registration Token.
Generate a registration token
To join a device to VeilNet, you need to generate a registration token.
- On the
Settingpage, click theCreate Registration Tokenbutton. - Then, select any available
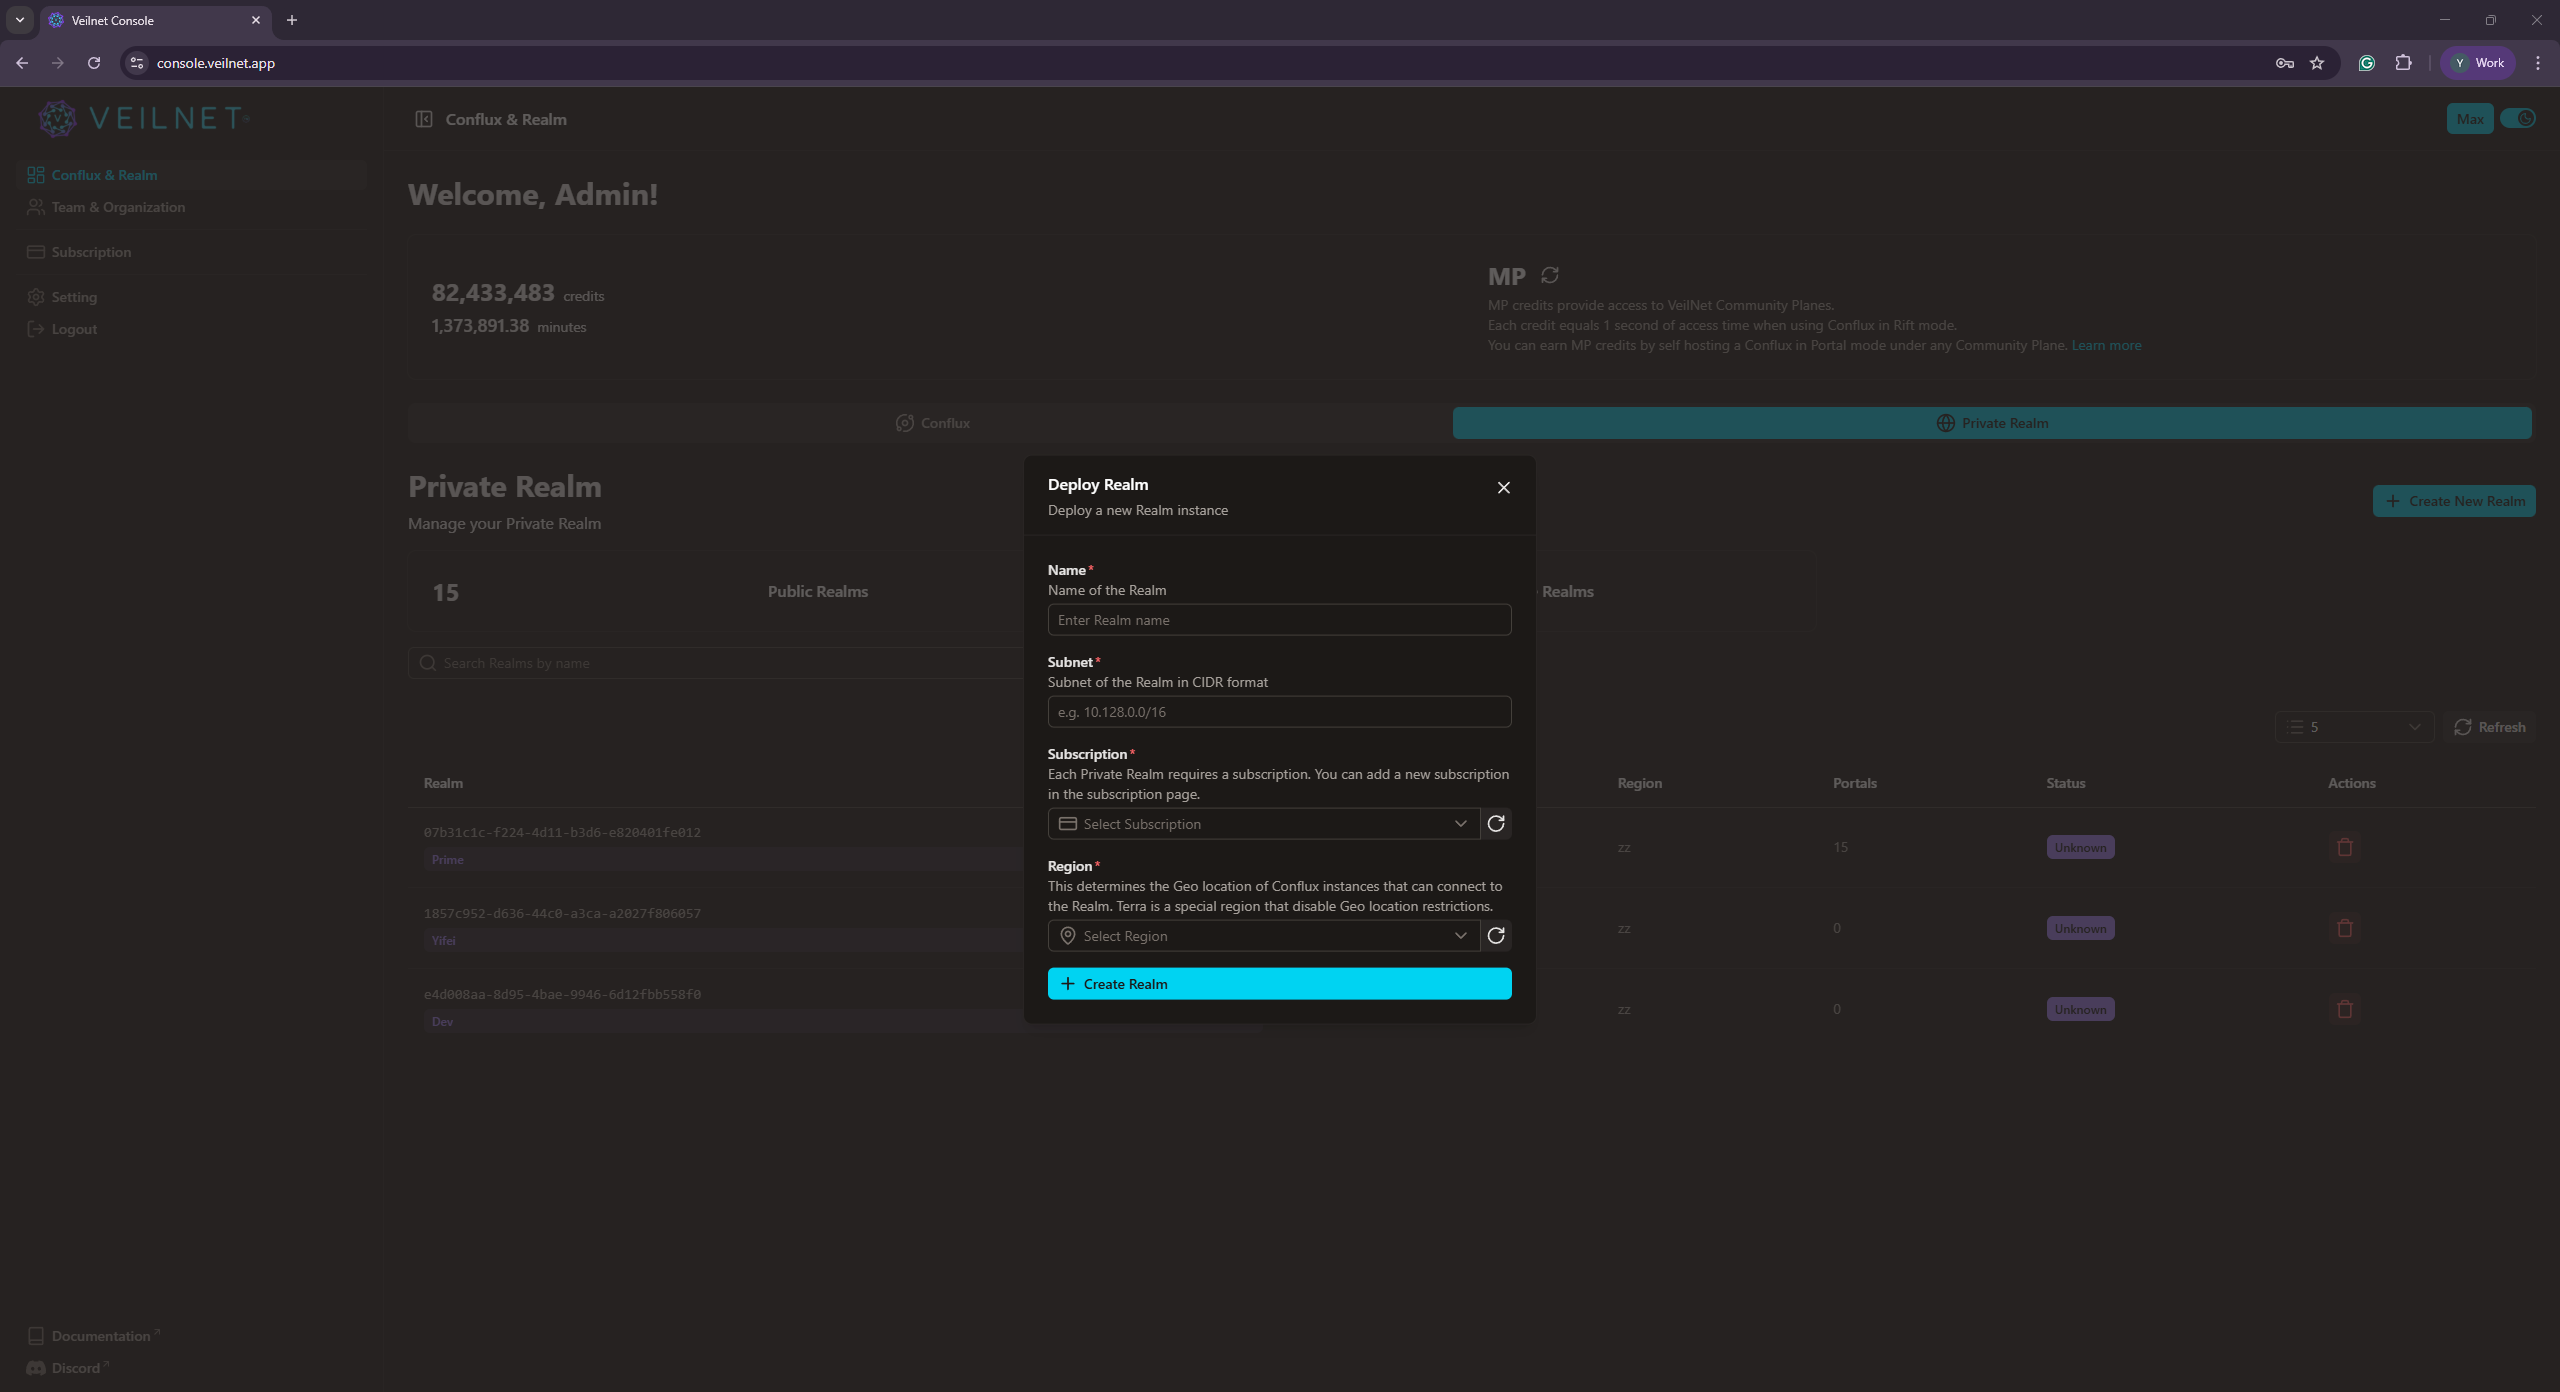
Realm, input an expiration time in days and give an optional tag for the token. - Click the
Create Tokenbutton to generate a registration token.
Warning: Please copy and save the registration token somewhere safe. You will not be able to access it again after you leave this page.
Warning: Community Realm applies Geo-location restriction. Your Conflux instance in Portal Mode will not be able to connect if your host is not within the same Geo-location. For example, for Community Realm "Australia", your host must be within Australia.
Note: Community Realm "Terra" does not have Geo-location restriction. We recommend you start with it.
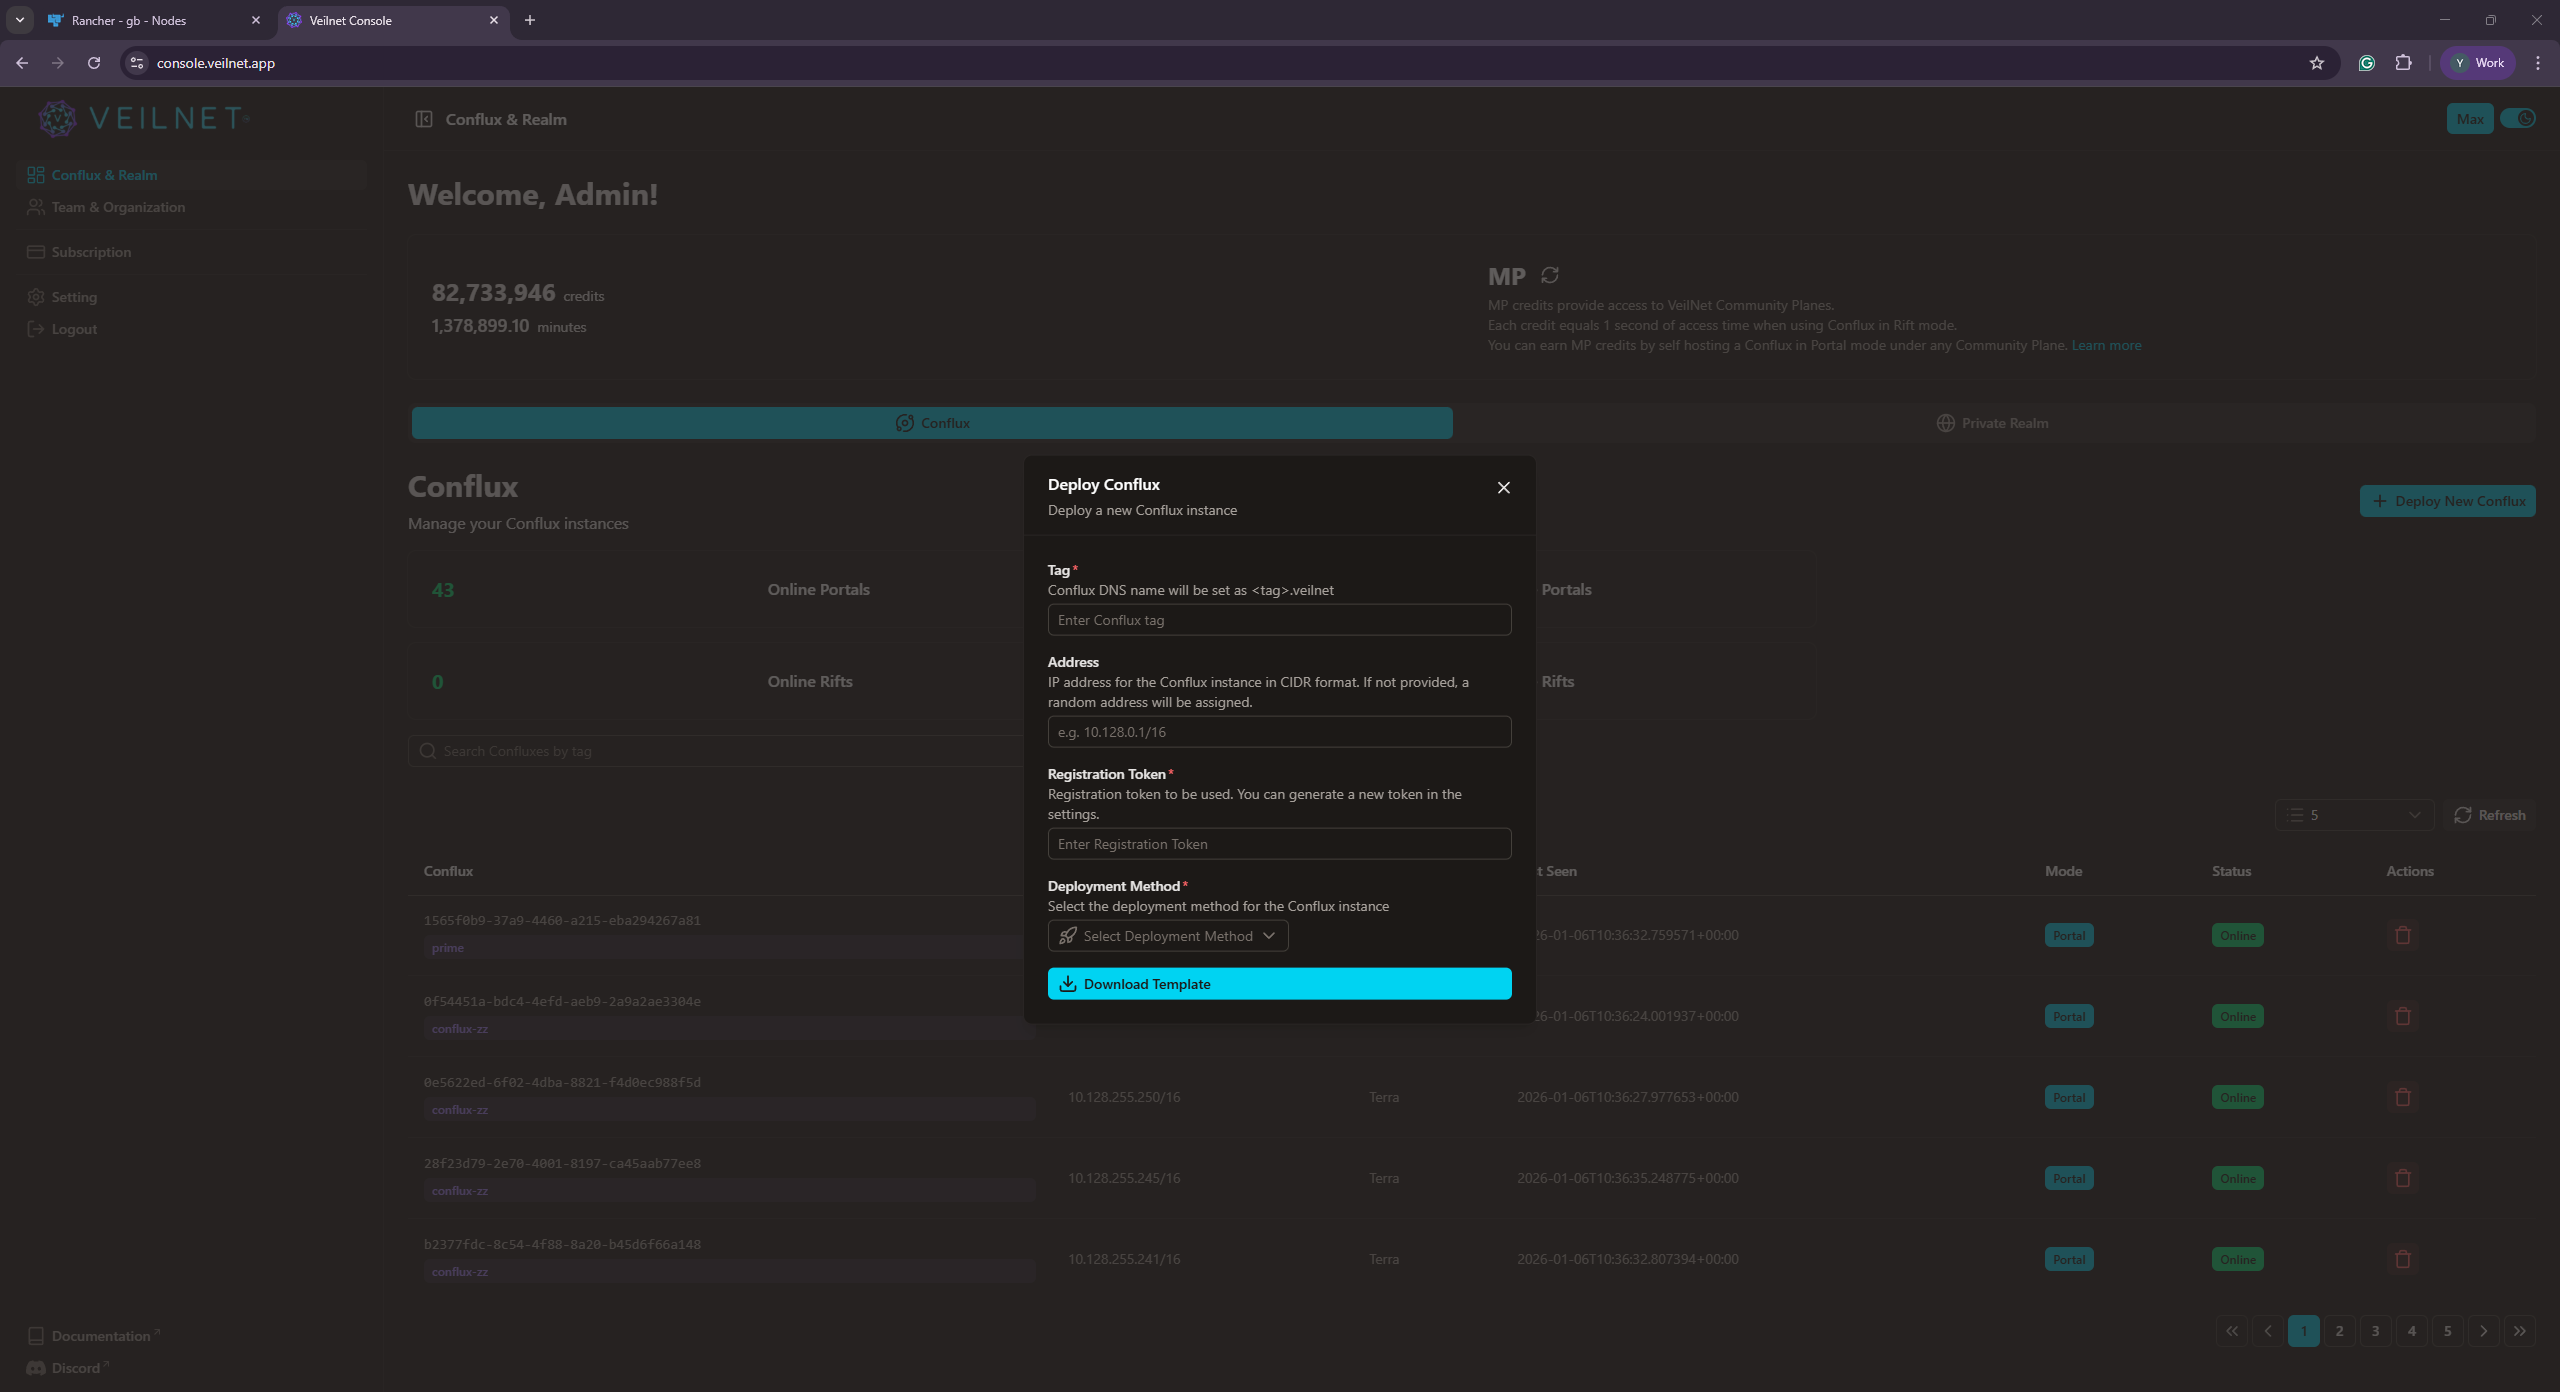
Deploy a new Conflux Node
Download the Binary
- Download the latest release from GitHub Releases for your Linux architecture.
- Make it executable:
chmod +x veilnet-conflux - (Optional) Move it to a system path:
sudo mv veilnet-conflux /usr/local/bin/
Register and Install as System Service
The register command registers your conflux with VeilNet, saves the configuration, and automatically installs and starts the system service.
Using environment variables:
export VEILNET_REGISTRATION_TOKEN="your-registration-token"
export VEILNET_CONFLUX_TAG="my-conflux"  # Optional: tag for identifying the conflux
export VEILNET_PORTAL=true  # Set to true for Portal mode, false for Rift mode
./veilnet-conflux register
Using command flags:
./veilnet-conflux register \
  -t "your-registration-token" \
  --tag "my-conflux" \
  -p  # Use -p flag to enable Portal mode, omit for Rift mode
The register command will:
- Remove any existing service
- Register the conflux with VeilNet
- Save the registration data to the configuration directory
- Install and start the system service
Manage the Service
Once registered, you can manage the service using standard systemd commands:
# Check status
sudo systemctl status veilnet

# Start service
sudo systemctl start veilnet

# Stop service
sudo systemctl stop veilnet

# Restart service
sudo systemctl restart veilnet

# View logs
sudo journalctl -u veilnet -f
You can also use the conflux CLI commands:
./veilnet-conflux start    # Start the service
./veilnet-conflux stop     # Stop the service
./veilnet-conflux status   # Check service status
Unregister a Conflux
To remove the service and unregister from VeilNet:
./veilnet-conflux unregister
This will unregister the conflux from VeilNet, stop and remove the system service, and remove the registration configuration file.
Test Connectivity
After deploying your Conflux node, you can test connectivity using common network tools.
Check Service Status
First, verify that your Conflux service is running:
sudo systemctl status veilnet
Or using the CLI:
./veilnet-conflux status
Find VeilNet IP Addresses
To find the VeilNet IP address assigned to your device, check the network interfaces:
# On Linux
ip addr show | grep -A 2 veilnet

# Or using ifconfig (if available)
ifconfig | grep -A 5 veilnet
You can also view all your Conflux instances and their VeilNet IP addresses in the management console.
Test Basic Connectivity with Ping
Once you have deployed multiple Conflux nodes, test connectivity between them using ping:
# Ping another VeilNet device by its VeilNet IP address
ping <veilnet-ip-address>

# Example: ping 10.0.0.5
ping 10.0.0.5
If you're testing from a Portal mode node, you can also ping resources on the local network:
# Ping a resource accessible through a Portal node
ping <local-network-ip>
Test HTTP Connectivity
Test HTTP/HTTPS connectivity using curl:
# Test HTTP connectivity to a web server on VeilNet
curl http://<veilnet-ip-address>:<port>

# Test HTTPS connectivity
curl https://<veilnet-ip-address>:<port>

# Example: Test a web server running on another VeilNet device
curl http://10.0.0.5:8080
Test Port Connectivity
Test if a specific port is accessible using telnet or nc (netcat):
# Using telnet
telnet <veilnet-ip-address> <port>

# Using nc (netcat)
nc -zv <veilnet-ip-address> <port>

# Example: Test SSH connectivity (port 22)
nc -zv 10.0.0.5 22
View Connected Devices
You can view all your Conflux instances and their status in the management console. This helps you identify the VeilNet IP addresses of other devices for testing.
Troubleshooting
If connectivity tests fail:
- Check service status: Ensure the VeilNet service is running on both devices
- Verify network mode: Ensure devices are in the same Realm
- Check access control: Verify that Access Control policies allow communication between devices
- View logs: Check service logs for errors:
sudo journalctl -u veilnet -f - Verify firewall rules: Ensure local firewalls aren't blocking the port you are trying to access.
Important: Portal vs Rift Mode
There are two modes to run the Conflux Node: Portal and Rift.
- Portal mode: Enables your Conflux node to act as a gateway or mini-router that provides access to networks and resources accessible from the host machine. It has simultaneous access to both VeilNet and regular networks.
- Enable with:
VEILNET_PORTAL=trueor the-pflag
- Enable with:
- Rift mode: Provides an entry point to VeilNet with absolute isolation. It captures all host traffic and routes it through VeilNet, while the host loses connection to regular networks.
- Enable with:
VEILNET_PORTAL=falseor by omitting the-pflag (default)
- Enable with:
Note: This is a brief overview. For detailed explanations, use cases, deployment scenarios, and guidance on choosing the right mode, please read the Portal vs Rift Mode documentation.