Team
What is Team?
A Team is a user-defined identity group used to implement access control policies in VeilNet. Teams enable you to:
- Share Private Realms with other users, allowing them to deploy Conflux instances in your realm
- Control network access by determining which Conflux instances can communicate with each other
- Implement fine-grained access policies for different groups of users and resources
How Team-Based Access Control Works
When a packet destined for non-public networks (local networks, private IP ranges) arrives at a VeilNet Conflux instance, the sender's Conflux instance must share at least one valid Team Identity with the receiver. Otherwise, the packet is dropped.
Key Principles:
- Zero-Trust Access: By default, only your own Conflux instances (sharing your
User Identity) can communicate with each other for traffic to non-public networks - Team-Based Access: To allow communication between Conflux instances owned by different users, they must share at least one common
Team Identity - Real-Time Updates: Changes to team associations are applied within 10 seconds without requiring Conflux instance restarts
- State Persistence: If VeilNet infrastructure is temporarily unavailable, Conflux instances maintain their last known team identity state
To learn more about how Team Identity is cryptographically verified, please refer to the Packet Level Authentication (PLA) section.
Create a Team
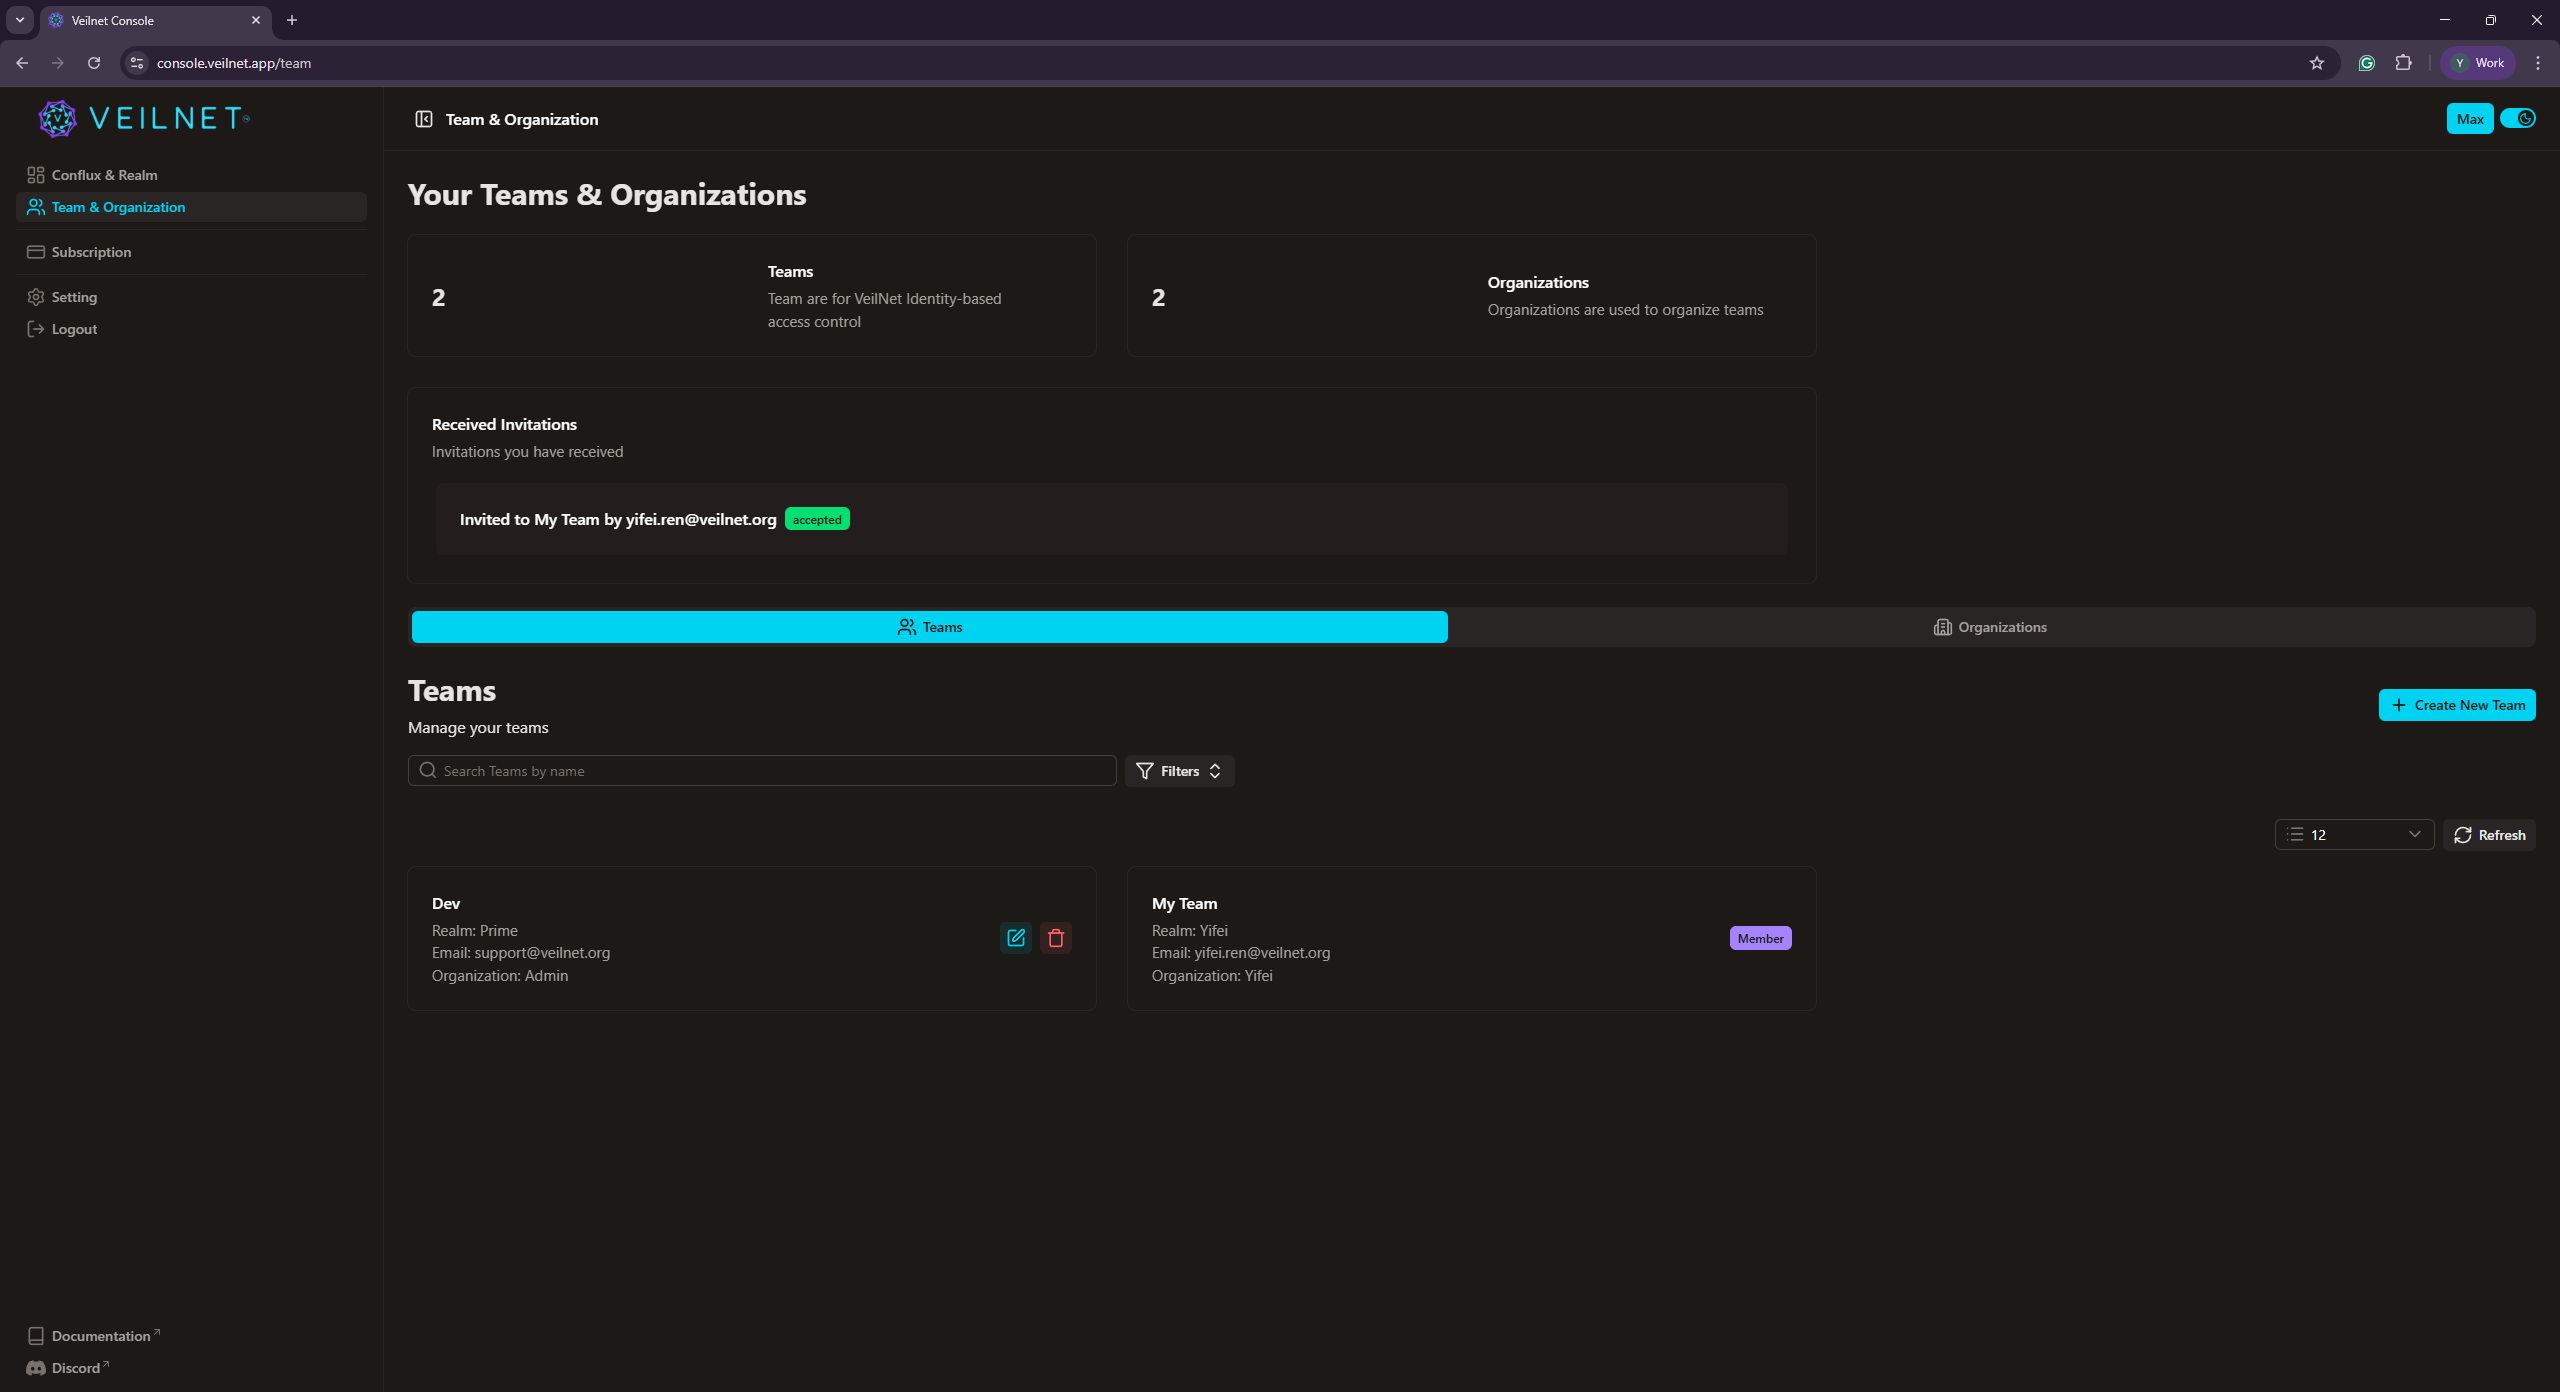
To create a team, click the Team & Organization in the sidebar. If you do not have an organisation yet, you will have to create one first before creating any team. At the moment, the organisation is simply used to group your teams together. You can input any name, website, or email address.
After the organisation is created, you will be able to expand the newly created organisation, and click the Teams section. Then, simply input the name and email (purely for display purposes) of the team, and click the Create button.
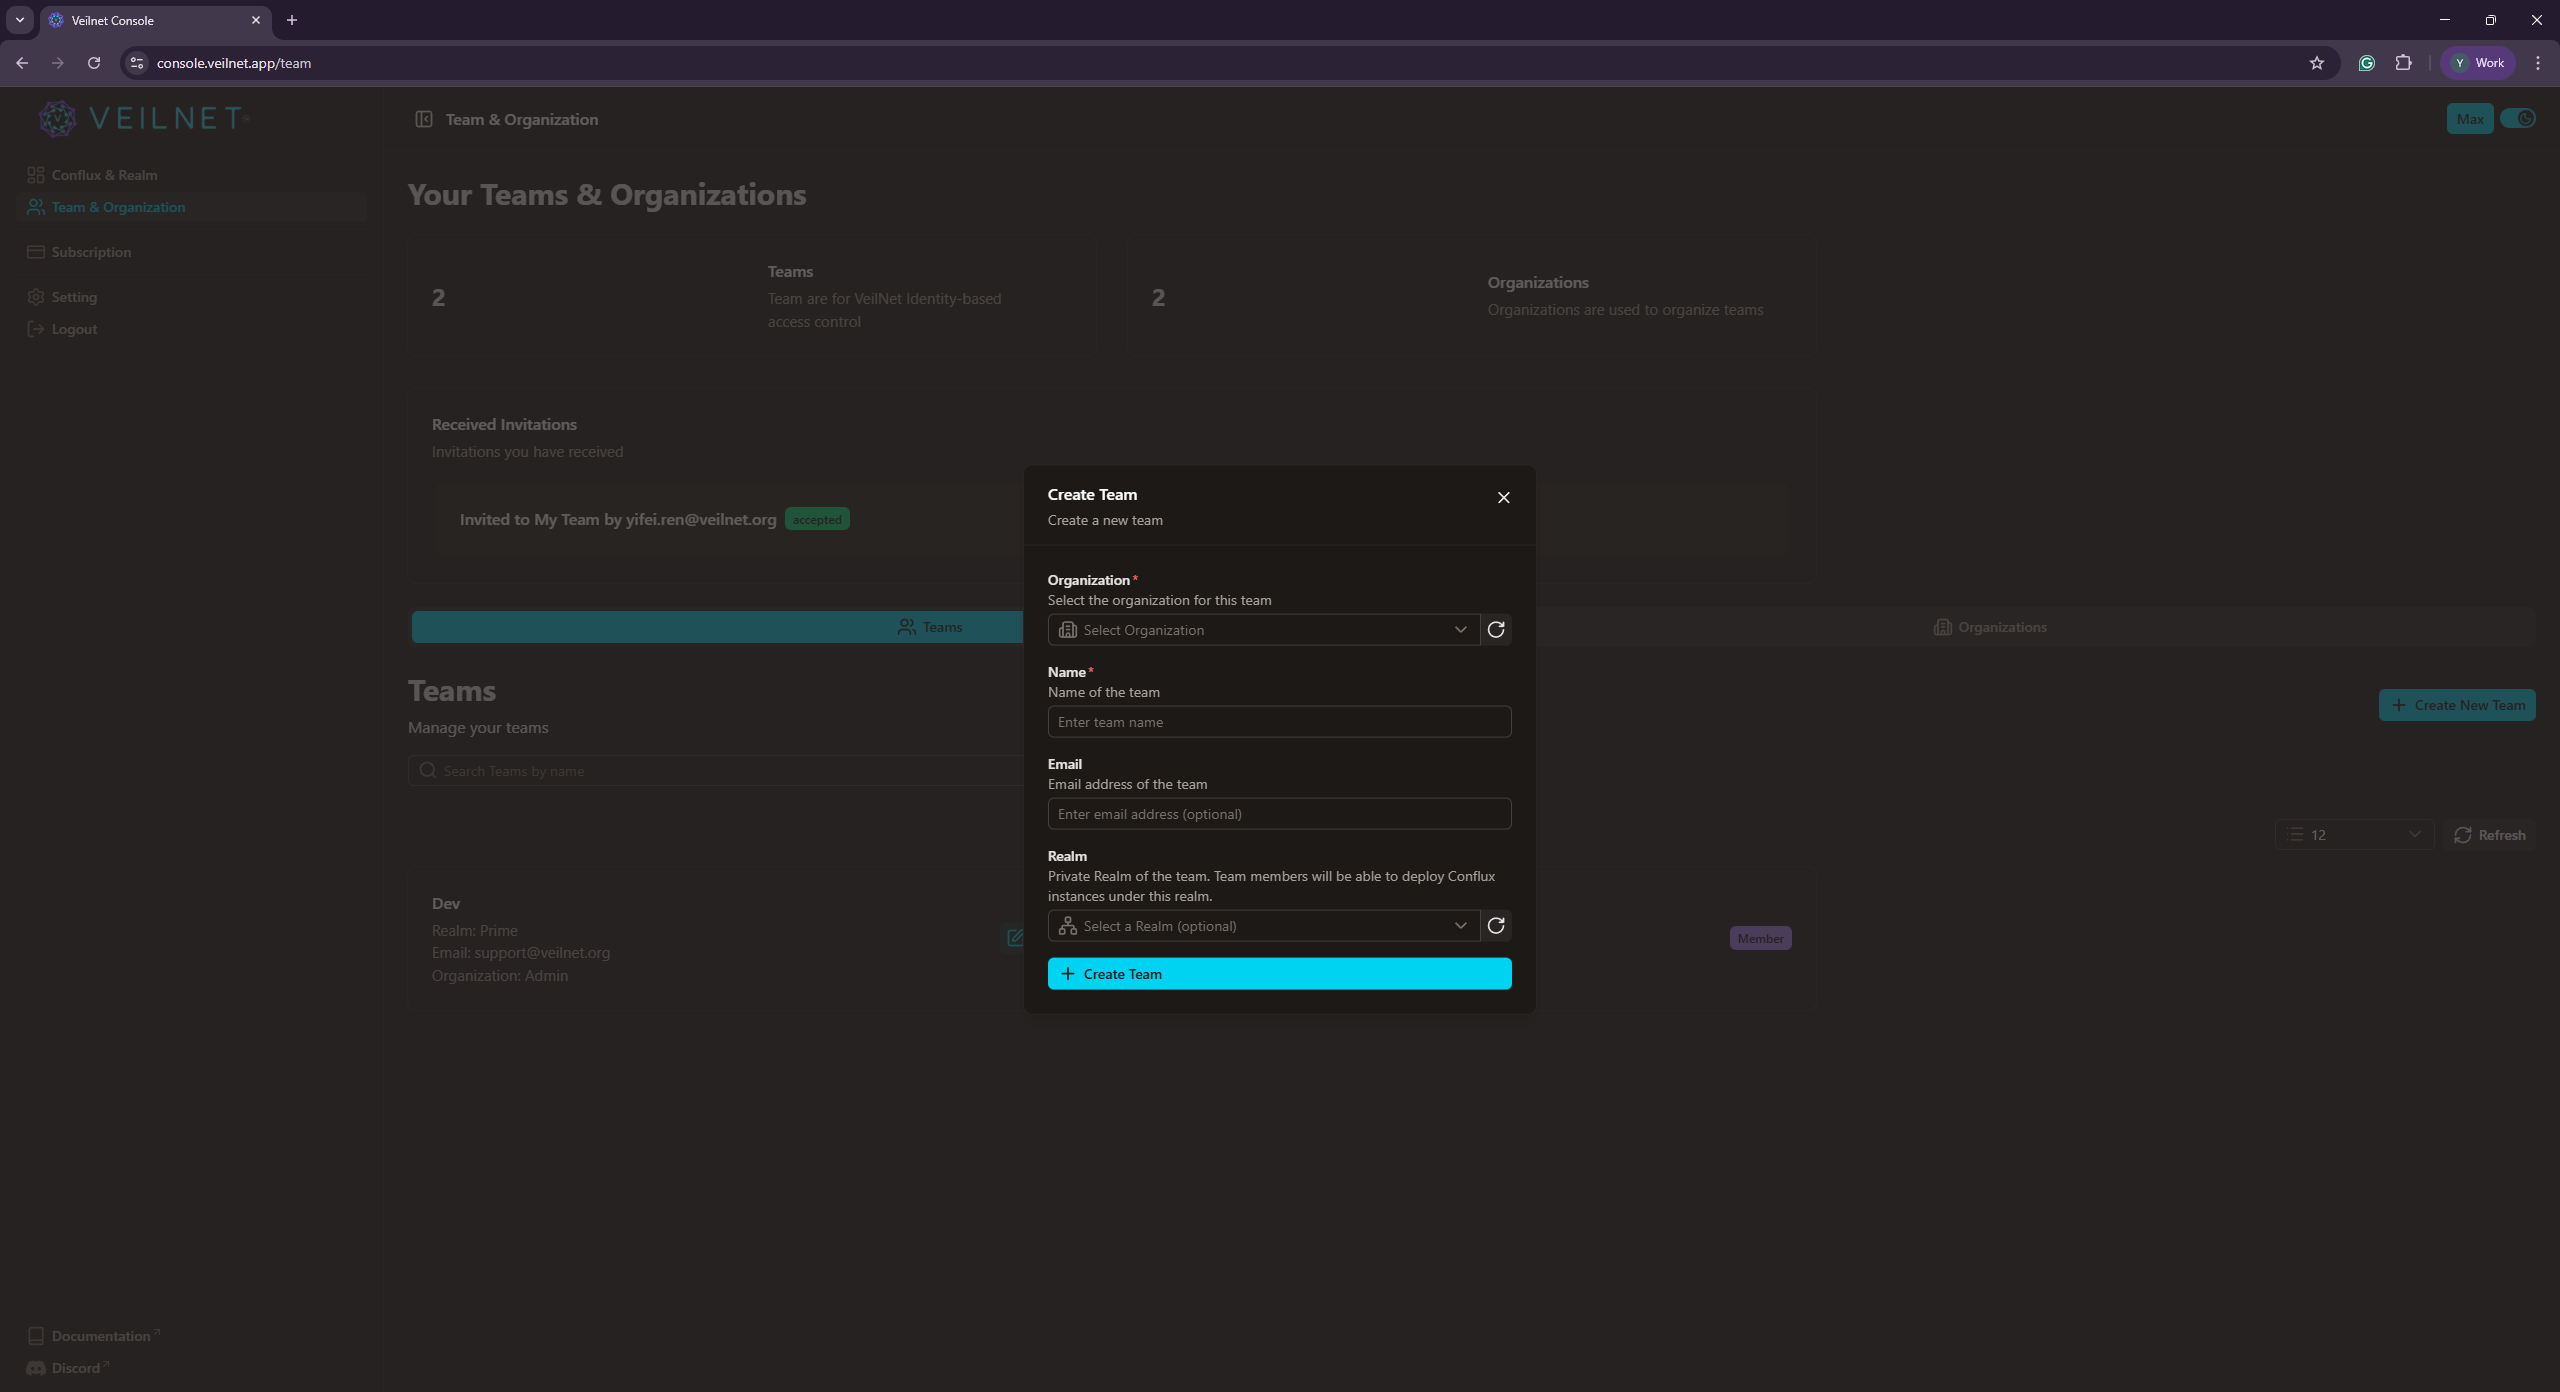
Note: You can create multiple teams within an organisation.
Note: You can not delete the
Ownerteam. Any user within theOwnerteam will be considered as the owner of the organisation, and can modify the teams within the organisation.
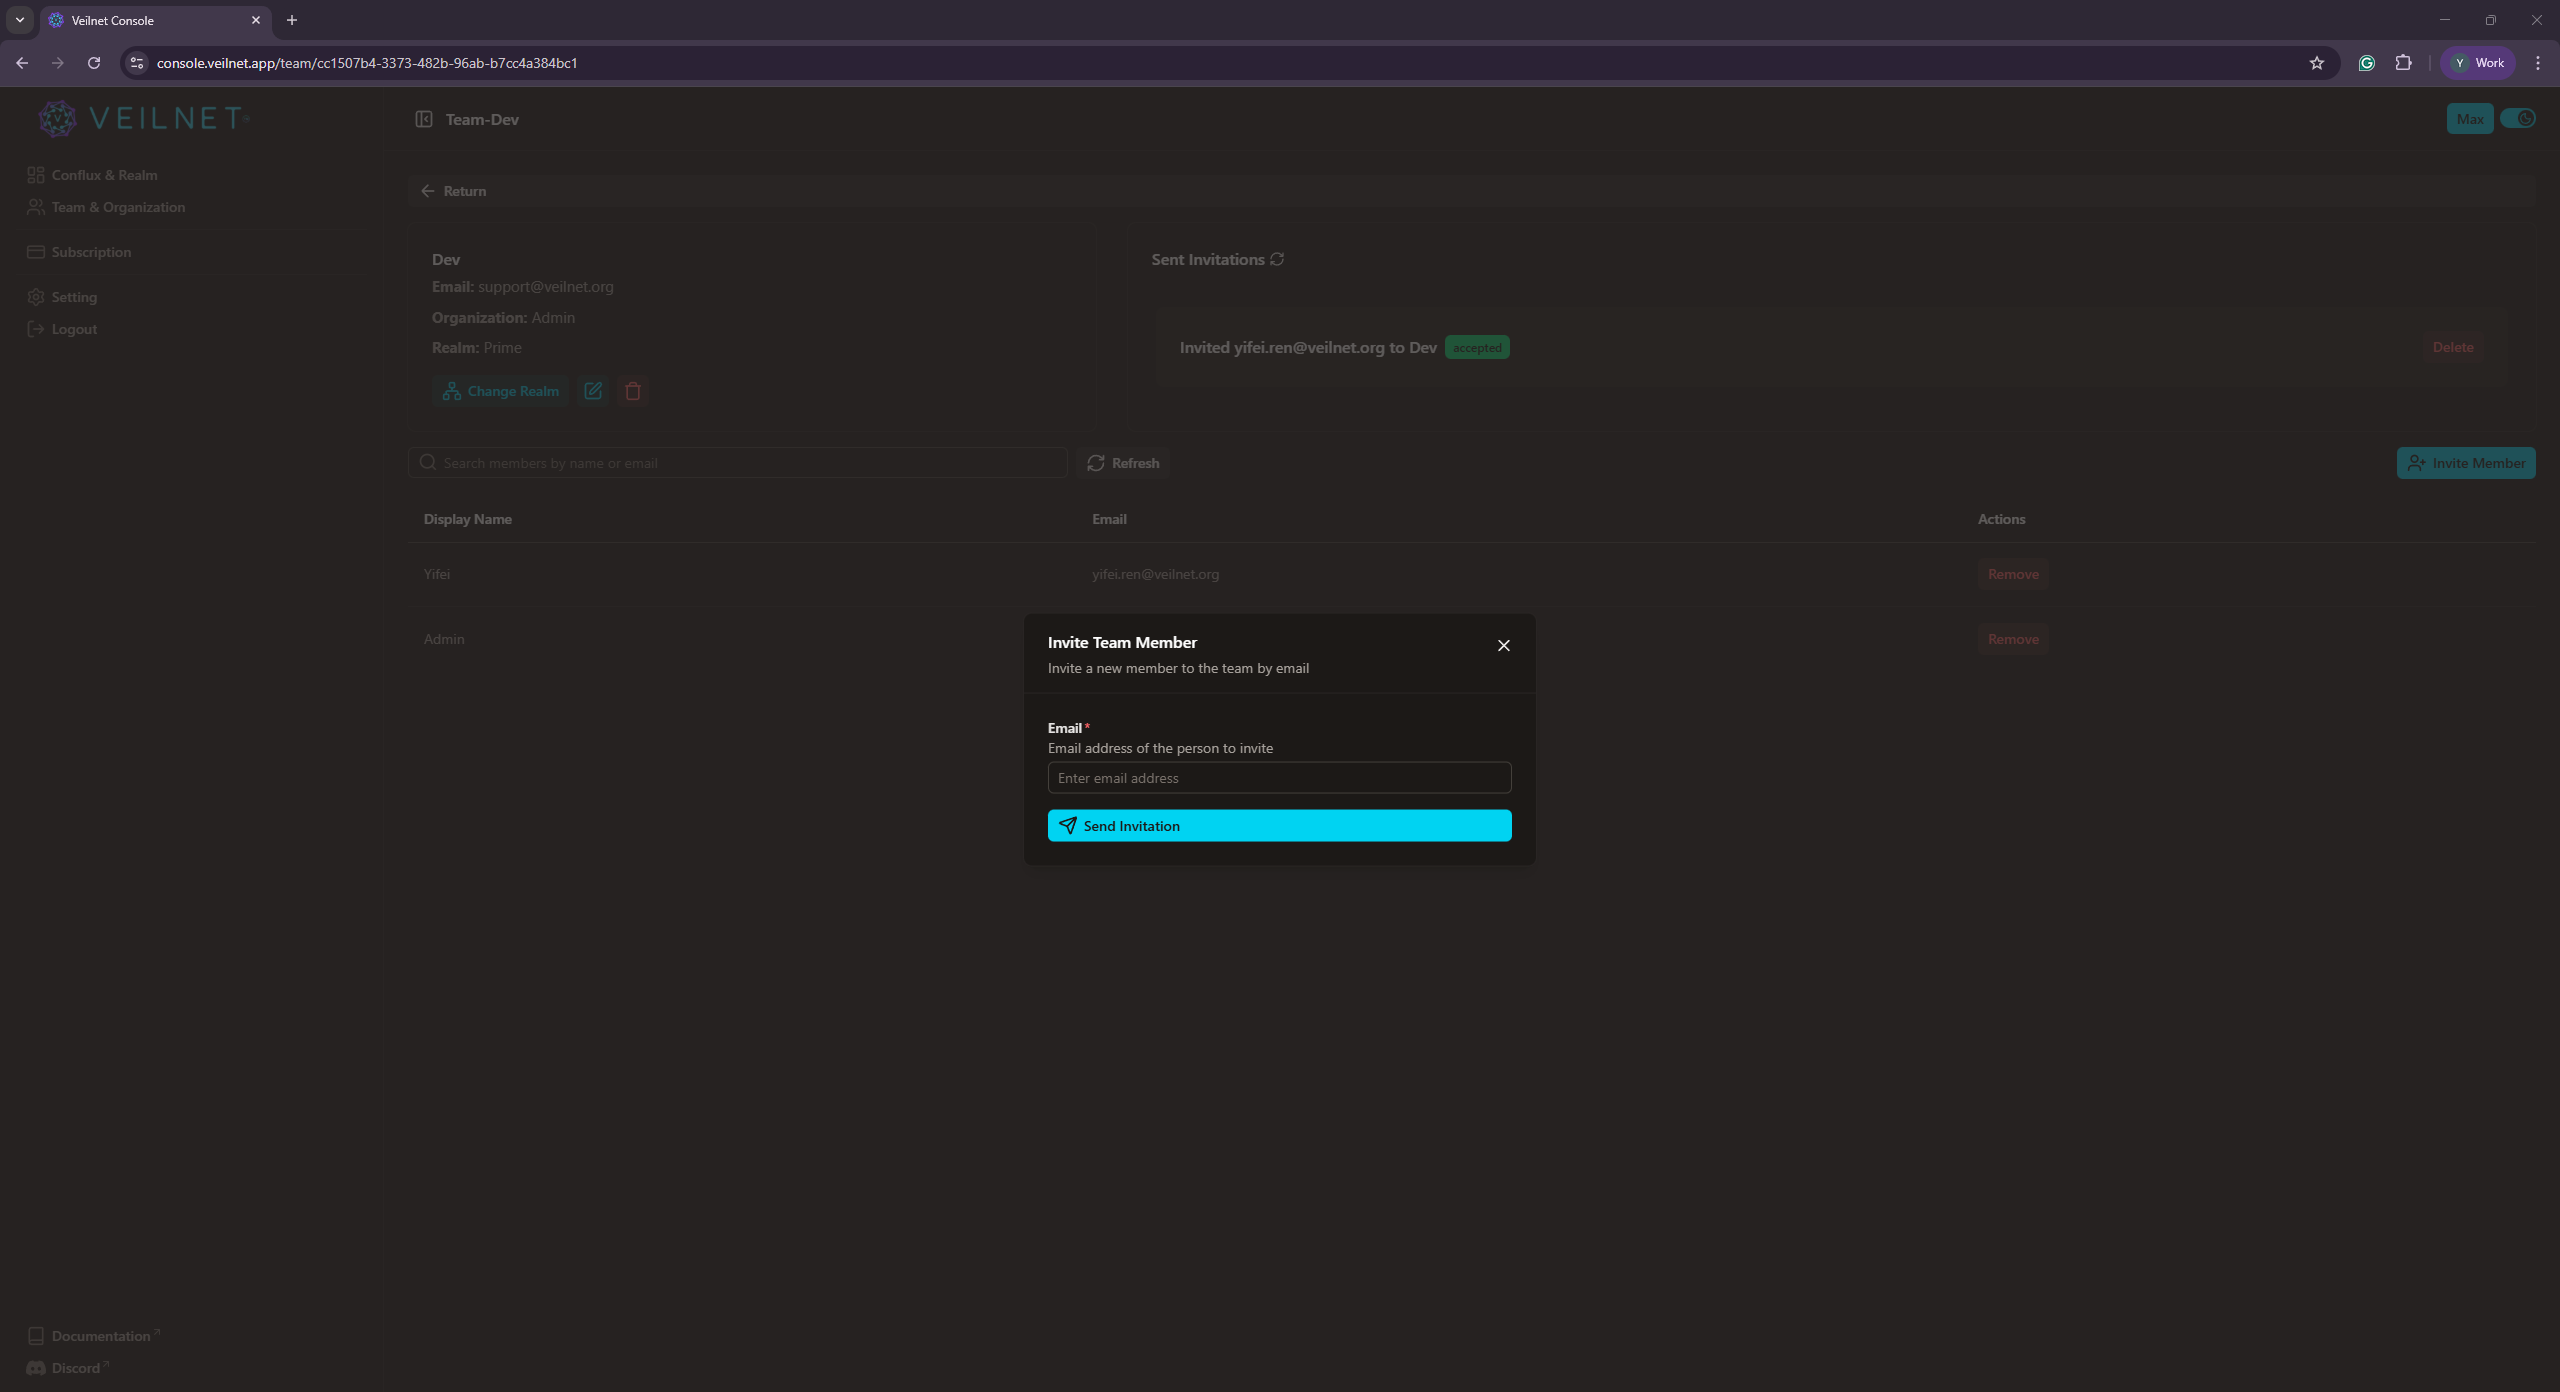
Invite a User to a Team
To invite a user to a team, simply click on any available team. You will be navigated to the team details page. You will see a list of all the users in the team. To invite a user, simply click the Invite Members button and input the email address of the user.
All your sent invitations will be shown in the Sent Invitations on the top right corner of the team details page. You will also see all invitations sent to you by other users from the previous page.
Note: You can cancel an invitation if the user has not accepted it yet.
Note: You can reject an invitation if you do not want to join the team. If an invitation is rejected, the owner of the team will be notified. You can not change the decision once the invitation is rejected. A new invitation must be sent to you again.
Remove a User from a Team
The team owner can remove a user from the team. To remove a user, simply click the Remove button next to the user.
Note: You can not remove yourself from the team. You can only remove other users from the team.
Note: Only the team owner can invite users to the team, or remove users from the team.
Warning: Removing a user from the team will not also disconnect their Conflux instances under the associated Private Realm. However, if the team is associated with a Community Realm, the Conflux instances will not be disconnected but they will no longer be able to access networks accessible by your Conflux instances.
Delete a Team
To delete a team, simply click the Trash icon button for the team card on the overview page.
Warning: Deleting a team will also remove the associated
Team Identityfrom all Conflux instances. Additionally, if the Private Realm is shared with other users via this team only, their Conflux instances will be disconnected from the Private Realm.
Granting Access to Private Realms and Conflux Instances
Sharing a Private Realm and Conflux instances with other users is a two-step process:
- Associate the team to the Private Realm - This grants team members permission to deploy Conflux instances in that realm
- Associate the team to Conflux instances - This controls which networks and resources are accessible to team members
Step 1: Associate Team to Private Realm
This step allows team members to deploy Conflux instances in your Private Realm.
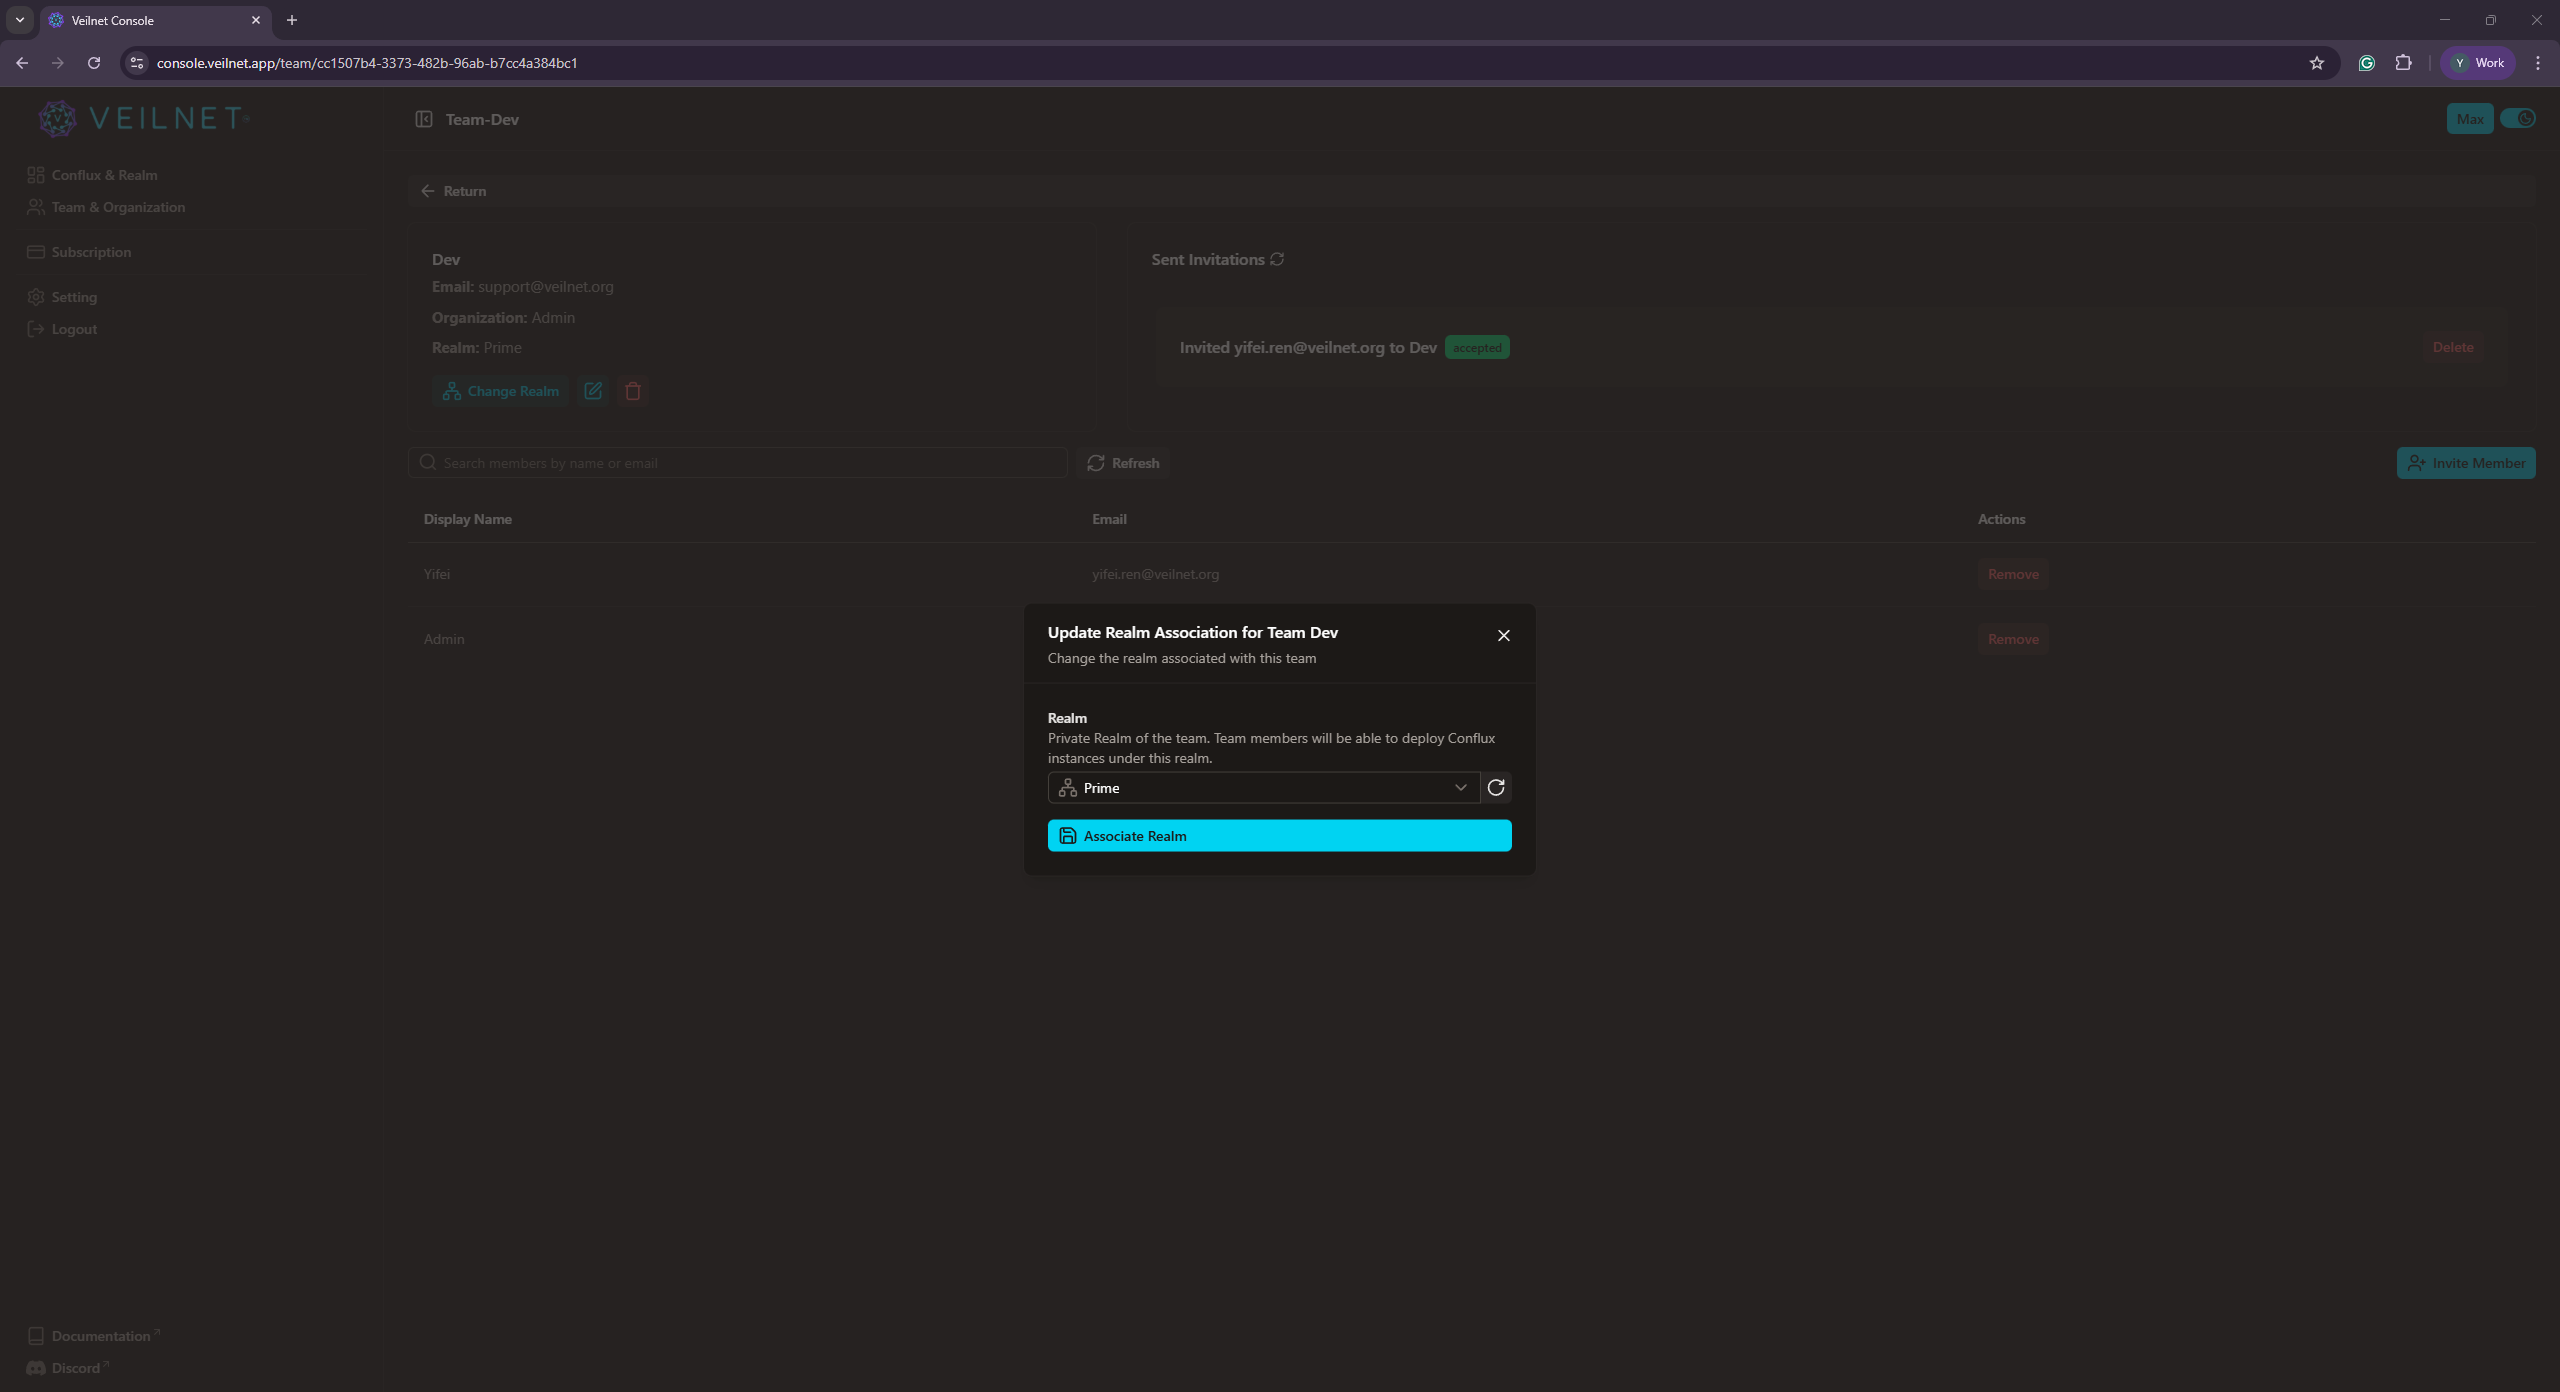
To share a Private Realm with a team:
- In the team details, find the
Chaange Realmbutton and click it. - Select the Private Realm you want to share from the dropdown list
- Click the
Associatebutton
What this does:
- Team members who accept the invitation will be able to create registration tokens for this Private Realm
- They can deploy their own Conflux instances in your Private Realm
- However, they still cannot access your networks until you complete Step 2
Note: You can associate multiple teams to a single Private Realm, allowing different groups of users to access the same realm.
Note: You can not associate a team to a
Public Realm, so that you can share access to your conflux instances or forward your networks to your team members.
Warning: If you remove a team from a Private Realm, team members will lose the ability to deploy new Conflux instances in that realm. Existing instances will remain connected but may lose network access depending on Step 2.
Step 2: Associate Team to Conflux Instances
This step controls which networks and resources are accessible to team members. It determines what team members can actually reach once their Conflux instances are deployed.
To grant network access to a team:
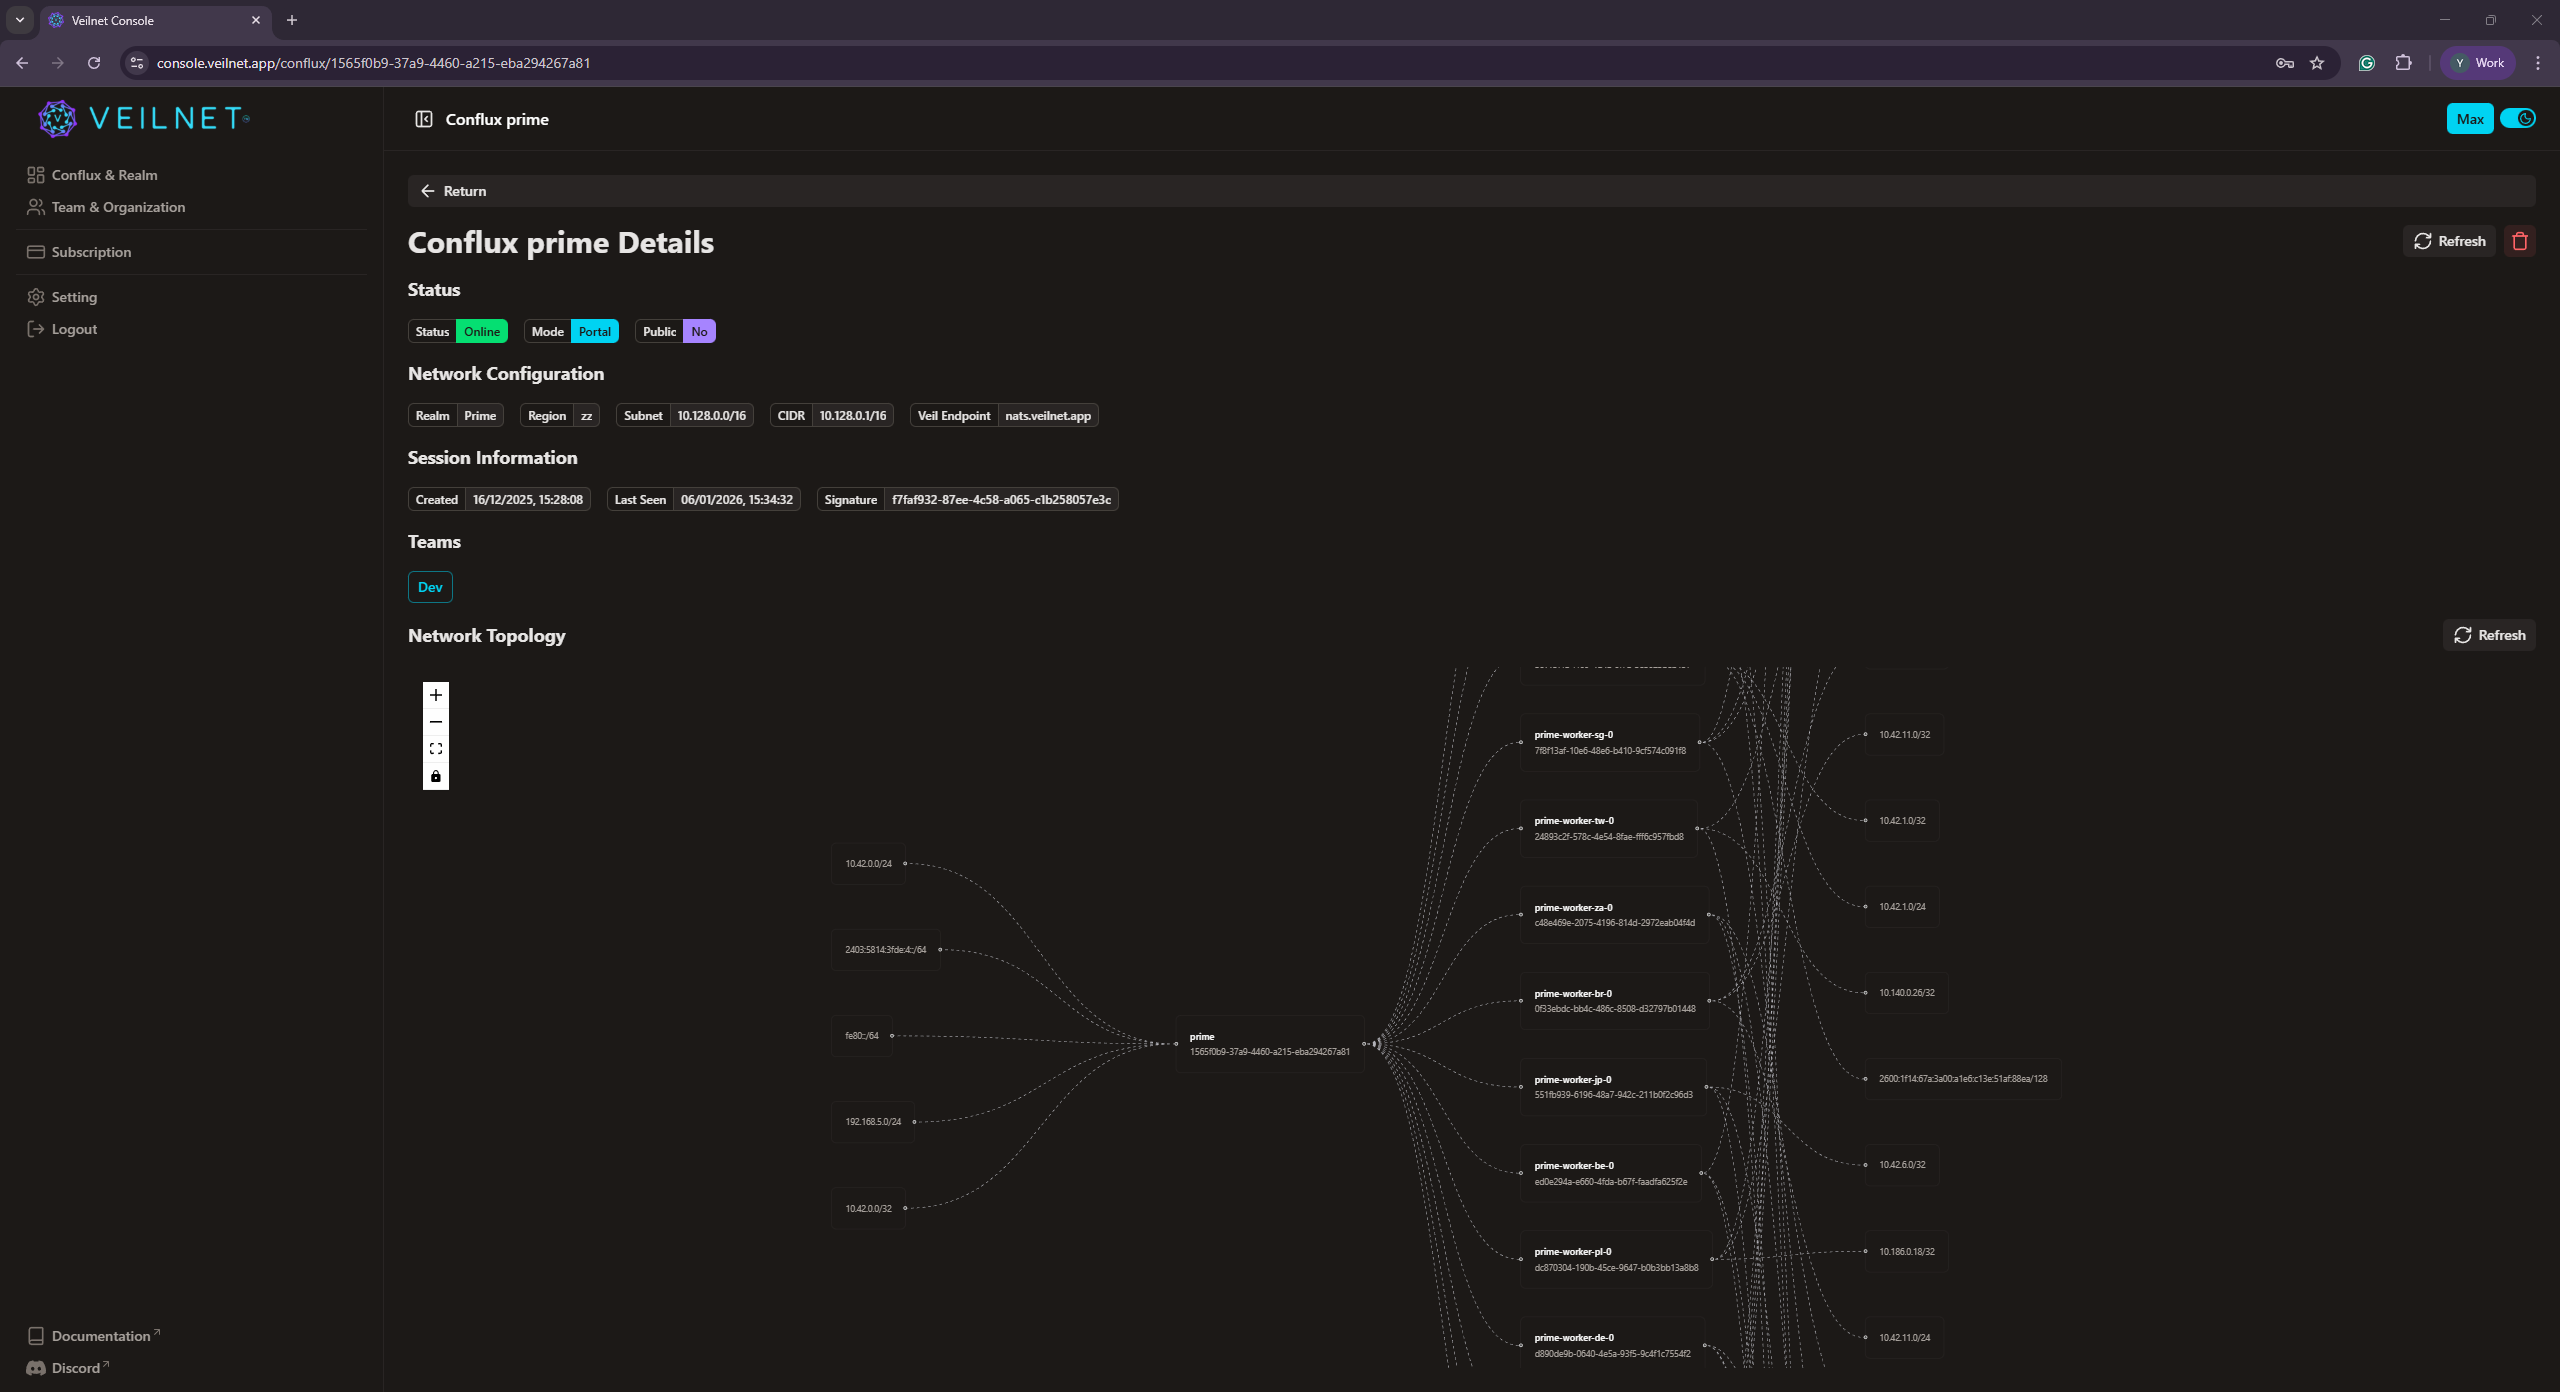
- Navigate to the
Conflux & Realmtab in the main navigation menu - Find the Conflux instance whose networks you want to share
- Click the Conflux instance to view the details
- Your teams will be shown as selectable chips under the
Teamssection - Click the team chip to associate it with the Conflux instance, the chip will change to a
solidcolor. - To remove access, click the team chip again to unassociate it, the chip will change to a
outlinedstyle.
What this does:
- Conflux instances associated with the same team can communicate with each other
- Team members can access networks and resources exposed by Portal mode Conflux instances that share the team
- Access is granted to all networks accessible by the Conflux instance (specific subnet blocking is not yet supported)
Example Scenario:
- You create a Private Realm and a team called "DevOps"
- You invite team members to the "DevOps" team
- You associate the "DevOps" team to your Private Realm (Step 1) - team members can now deploy Conflux instances
- You have a Portal mode Conflux instance exposing your development servers
- You associate the "DevOps" team to that Conflux instance (Step 2) - team members can now access your development servers
Note: You can associate multiple teams to a single Conflux instance, allowing different teams to access the same resources.
Warning: Sharing at least one Team Identity grants access to all networks accessible by the Conflux instance. At the moment, we do not support blocking specific subnets. This granular subnet-level access control feature will be available in the future.
Controlling Access with Teams
Teams provide a flexible way to control access between Conflux instances:
- Same User: Conflux instances owned by the same user can always communicate (via User Identity)
- Different Users, Same Team: Conflux instances owned by different users can communicate if they share at least one Team Identity
- Different Users, Different Teams: Conflux instances with no shared Team Identity cannot communicate for non-public network traffic
Best Practices:
- Create separate teams for different access levels (e.g., "DevOps", "Developers", "Contractors")
- Associate teams to Conflux instances based on the resources they need to access
- Use multiple team associations to grant access to multiple groups simultaneously
- Regularly review team memberships and Conflux instance associations to maintain proper access control