


Welcome to VeilNet! This guide will walk you through our onboarding process to create your account, connect your first devices, and manage your secure network in about five minutes.
Create Your Account #
First, let’s create your VeilNet account.
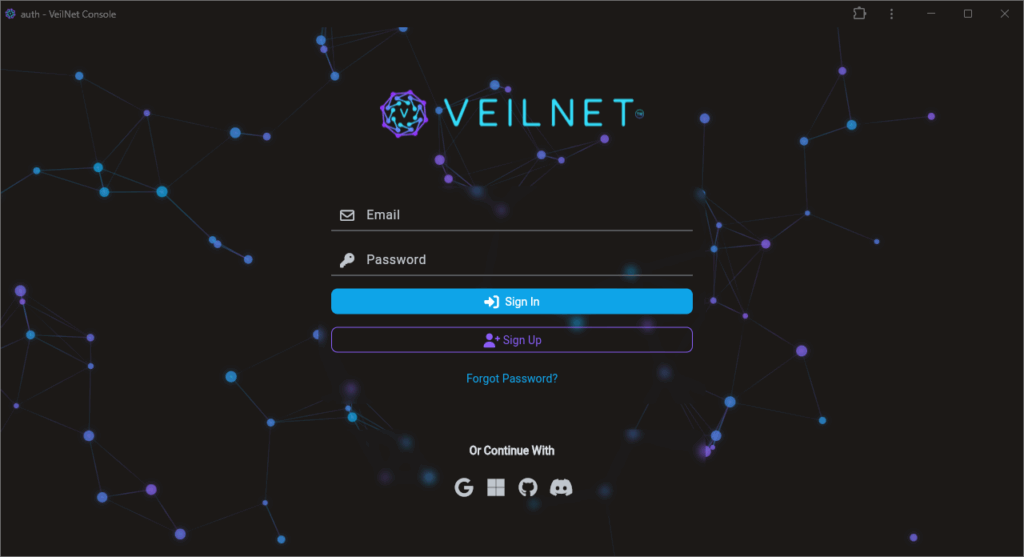
- Navigate to auth.veilnet.app.
- Click on the “Sign Up” button to register an account with an email and a password, or select the social login method below to continue.
- Follow the authentication steps for your chosen login method. If you have a passkey or multi-factor authentication enabled on your social account, it will work automatically.
Upon login, you will be greeted with the central navigation page.
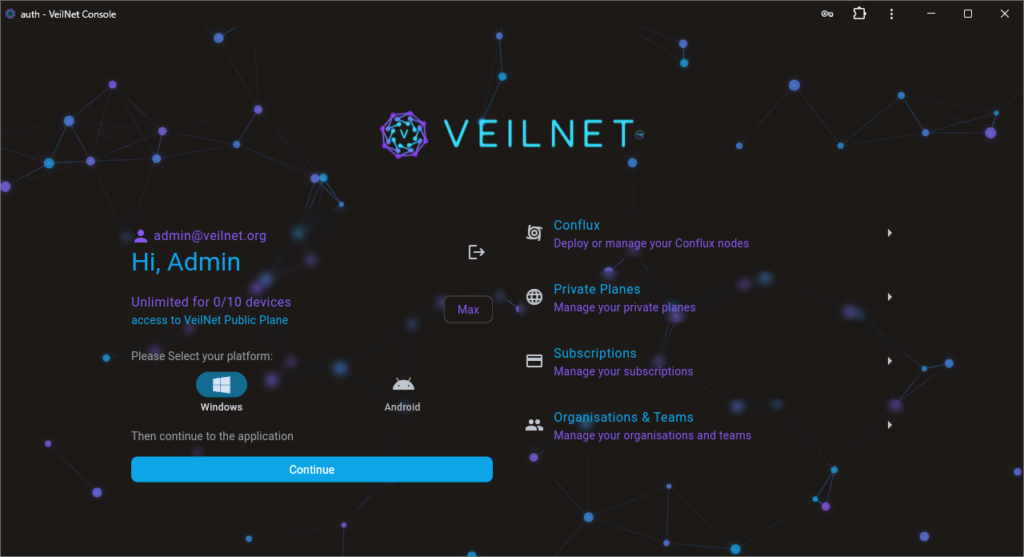
Obtain Registration Token #
To connect a new device, select the “Conflux” navigation tile on the right, top of the list. You will see the following page for managing the VeilNet Conflux instance in one place.
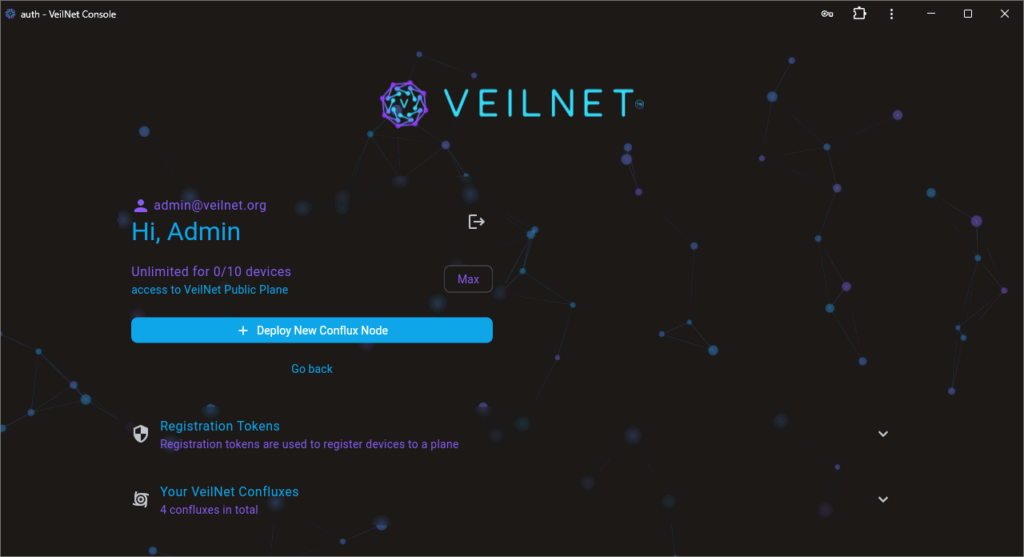
Click on “Deploy New Conflux Node” A form will appear. Choose “Create New Token”, select any plane that is available to you, set an expiration in days and a memorable tag. Then click on “Create Registration Token”, and your Conflux registration token is ready.
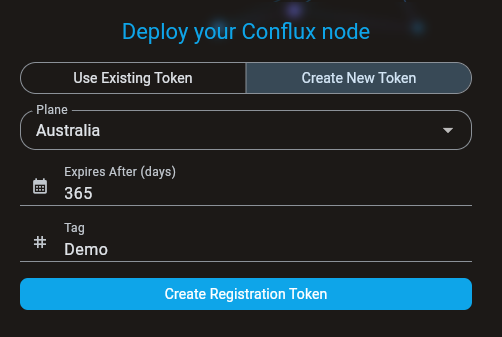
Please click on the copy icon button and save this token in a safe place because it will not be shown again, and there is no way to retrieve it once lost.
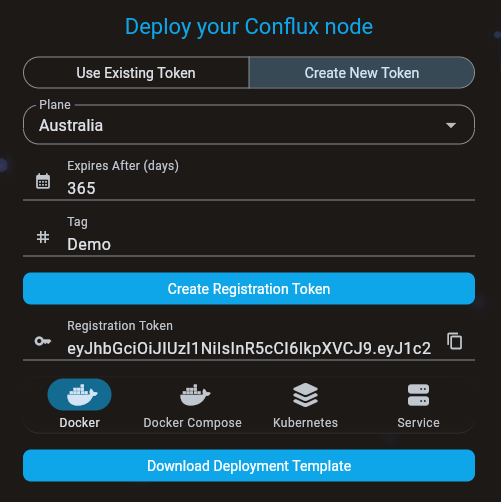
Once the token is created, several deployment templates will be generated for you. You can choose the template suitable for your environment. In this guide, we will go through installing VeilNet Conflux as a system service.
Connect Your Device #
Now, we are ready to connect your first device. We recommend using a Linux machine. First, you will need the pre-compiled binary for VeilNet Conflux, which can be downloaded from:
Once downloaded, the binary can be placed at any place. You will need to run the following commands:
# make it executable
chmod +x ./veilnet-conflux

# install as system service
sudo ./veilnet-conflux install

# register and connect the machine
./veilnet-conflux register \
    -t <registration_token> \
    -p # optional, set Portal mode intended for server or resource endpoints
The “register” command also has the following tag available:
- “–tag”: Set a memorable tag for this VeilNet Conflux instance.
- “–cidr”: Set an IP address for this VeilNet Conflux instance, must be within the subnet of the VeilNet Plane and has not been used by others. We do not recommend using this tag on a public plane.
- “–team”: A comma-separated teams list, which is related to VeilNet’s access control. You will find more about it in “Access Control” of the documentation.
Note: #
VeilNet Community Planes are free to use, and there is no limitation on the number of devices. Please note that your VeilNet Conflux, which operates in Portal mode, may forward traffic from other users to the internet only. Your VeilNet Conflux instance will not allow other users to access the host network or the local network.
Please check with your IT team if you are using VeilNet Community Plane for work, or request a Private Plane from us. For more information regarding access control, please read “Access Control” under “Manage VeilNet”.
Verify Service Status #
To verify VeilNet Conflux service is running and working, simply use one of the following commands:
# shows if system service is running
./veilnet-conflux status

# show veilnet interface
ip addr
Remove VeilNet Conflux #
To remove VeilNet Conflux service from your machine, run any of the following commands:
# uninstall system service
sudo ./veilnet-conflux remove

# bring down veilnet interface temporarily
./veilnet-conflux down

# unregister the machine to bring down veilnet interface until re-register
./veilnet-conflux unregister