Why do we need a multi-region Kubernets cluster? #
In today’s distributed world, running workloads in a single Kubernetes cluster or region creates a fragile dependency on one data centre, one cloud provider, and one network path. A multi-region Kubernetes architecture eliminates this bottleneck by spreading workloads across geographically separate clusters that can operate independently yet coordinate seamlessly. This not only improves resilience—protecting against regional outages and latency spikes—but also enhances performance and compliance, keeping data and compute close to users or regulatory zones.
The recent AWS us-east-1 outage highlighted how a single-region dependency can bring global services to a halt; a properly designed multi-region cluster ensures workloads are automatically redirected to healthy regions without downtime or manual failover.
Why are multi-region Kubernetes clusters rare? #
Setting up a multi-region Kubernetes cluster without VeilNet is notoriously complex. Each cluster typically lives in an isolated VPC or network domain, meaning inter-region communication requires manual peering, VPNs, or service mesh federation—all of which introduce latency, configuration drift, and security risks. Maintaining consistent network policies, ingress rules, and DNS resolution across regions is cumbersome, and every new region compounds the complexity exponentially. Traditional solutions like Istio or multi-cluster services depend on public gateways or static tunnels that are fragile under real-world conditions, especially when scaling beyond a few clusters. As a result, most teams either over-provision in a single region or settle for limited failover instead of true distributed continuity.
Wait a sec, couldn’t we use Tailscale? #
Even though Tailscale can connect nodes across networks, it is not suitable for production-grade multi-region or multi-cluster Kubernetes architectures. The limitations include:
- Centralised Server – Every device depends on Tailscale’s global coordination server for key exchange and peer discovery, creating a single point of failure and making true decentralisation impossible.
- Subnet Router Fragility – Requires manual configuration of subnet routers or gateways in each region. If one fails, inter-region communication drops until manual recovery (≈15 seconds of downtime per gateway).
- Scalability Bottleneck – Each node or subnet router counts as a “device” in the tailnet, quickly exhausting the 100-device limit (even on paid plans, device scaling adds complexity and cost).
- Dynamic Pod Incompatibility – Tailscale assigns static IPs per node; it cannot dynamically track ephemeral Pods or changing pod CIDRs, breaking native Kubernetes service discovery.
- Network Policy Conflicts – Cilium and Calico do not recognise the
tailscale0interface or its CGNAT addresses (100.64.0.0/10), causing Cilium Network Policy failures and blocked traffic. - fwmark Collisions – Tailscale reuses the same fwmark values (0x400, 0x80000) as Calico/Cilium, producing routing anomalies and packet loss.
- Address Space Collisions – The hard-coded 100.64.0.0/10 subnet overlaps with some public clouds (e.g., Alibaba Cloud), leading to unpredictable routing conflicts.
- Operator Limitations – The official Tailscale Operator only supports single-replica StatefulSets, cannot run in host-network mode, and lacks HA or multi-region awareness.
- Performance Overhead – Cross-region traffic is encrypted and routed through user-space tunnels, significantly increasing latency and CPU load compared to kernel-level or AI-routed overlays.
- Manual Recovery & Static Routing – No built-in mechanism for automatic rerouting, congestion avoidance, or path optimisation — all must be scripted manually.
So you need VeilNet to save the day, or even the internet itself! #
Prerequisites #
Setting up a multi-region Kubernetes cluster with VeilNet requires absolutely no complex networking or configurations. Unlike Tailscale, you’ll need to manually deploy and configure subnet routers or gateways in each region, advertise routes, manage ACLs, and handle overlapping CIDRs and policy conflicts yourself just to make the clusters talk to each other.
With VeilNet, all you need is…
Virtual Machines with Debian-based Linux, which is needed for any Kubernetes anyway…
Step 1. Register your VeilNet account and generate a registration token. #
If you are a developer or DevOps, this should need no explanation. Head to:
This is our authentication portal. After logging in or signing up with your account, you will see the following page:
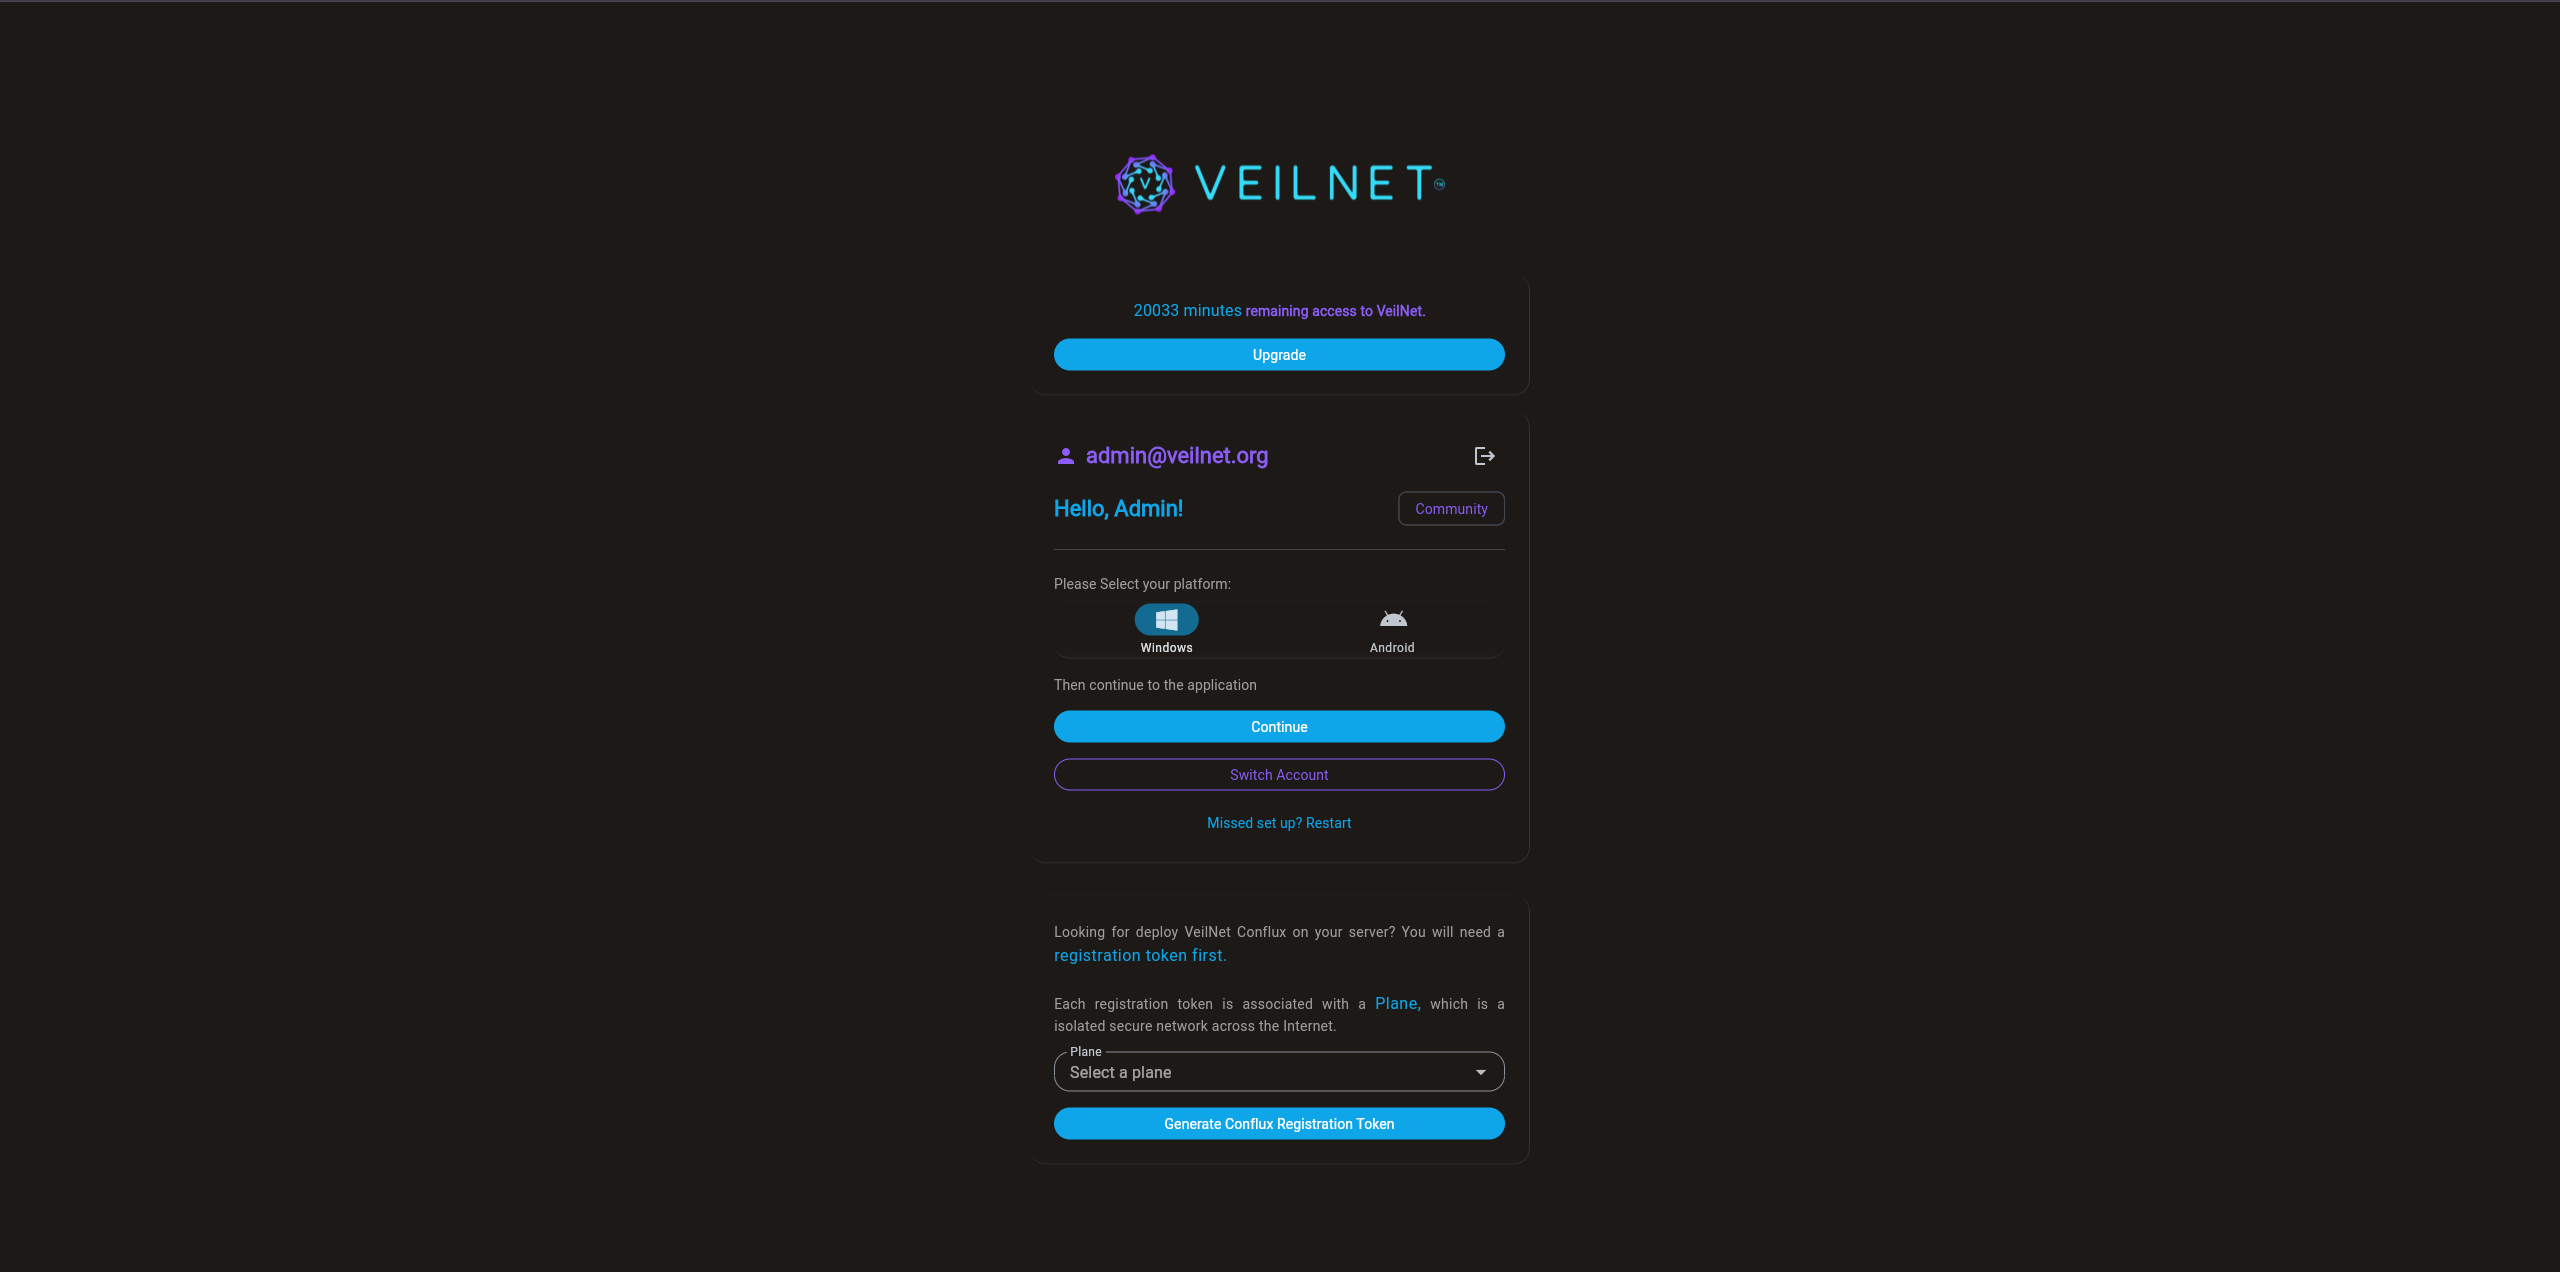
Simply select a Plane (aka, an isolated secure network in VeilNet), then click on the “Generate Conflux Registration Token” button. A unique token will be created for you, which is valid for 365 days.
Please save this token securely, because it will not be shown to you again. You can always create a new token next time you log in, but we do not recommend creating multiple tokens.
Step 2. Install VeilNet Conflux and link your VMs. #
The next step is to connect your virtual machines across different clouds or regions. You can download our beta version of VeilNet Conflux from:
https://download.veilnet.org/veilnet-conflux
You can place this binary at any location on your VM. Then, run the following command in order:
Now, if you go to http://localhost:8080 of the VM, you should see the default page of Nginx:

Isn’t it Magical? #
With VeilNet, what once took hours of VPN peering, ACL tuning, and YAML debugging now takes minutes—and feels effortless. It doesn’t just replace tools like Tailscale; it transcends them. Tailscale still belongs to the old world of static tunnels and manual gateways, while VeilNet operates on a completely different plane—ephemeral, intelligent, and self-orchestrating. Your clusters no longer need to know where they are or how to reach each other; VeilNet simply makes it happen. It’s not just a network overlay—it’s a living fabric that turns multi-region Kubernetes from a DevOps nightmare into something truly magical.
FAQ #
Is it safe to connect my VM to VeilNet Plane “Beta”? #
VeilNet is not a static tunnel mesh VPN like Tailscale. Even without ACL or Network Policies, your Conflux node (VM that is running VeilNet Conflux service), although it shares an IP pool from the plane, does not mean they will be freely accessible by other Conflux nodes deployed by a different user.
VeilNet routing is not based on IP address; it uses a revolutionary Reinforcement Learning & Dynamic Programming algorithm to route packets with random signatures of each Conflux Node. It employs an identity-based access control system. Conflux nodes from different users are not able to even form a connection, not to mention having any packet exchange.
Additionally, with Kyber KEM and Dilithium DSA, the post-quantum cryptography, your cluster network is literally the safest in the world at the moment. (Unless you contact us and get your free private Plane, in that case, other Conflux nodes won’t even know yours exists…)
Wait a sec? How does each VM know the way to connect with others? #
This is because of the unique design of VeilNet. In addition to the non-IP-based routing algorithm, VeilNet is inspired by the Software-Defined Network, which is commonly used in Telecom core networks. However, VeilNet does it better. Instead of relying on a single programmable controller, VeilNet use a centralised control channel which allows Conflux nodes to self-orchestrate globally. Since VeilNet does not rely on the host routing table like Tailscale does, there is no compatibility issue with Kubernetes CNI at all. 🙂
This also means there is no coordination server like Tailscale; all decisions, including encryption keys, are made on your Conflux node! This guarantees that there is no single point of failure or any server that holds your encryption keys. What happens in VeilNet stays on your device!
When will VeilNet officially release? #
Very soon! We are in the final stage of development, seeking feedback, early adopters and investors. If you are interested, please contact us!


